This blog post is part of the Blog Series: Power’ing up your Home Office Lights with Power Platform. See introduction post for links to the other articles in the series:
https://gotoguy.blog/2020/12/02/blog-series—powering-up-your-home-office-lights-using-power-platform—introduction/
In this part 9 we will use Microsoft Graph to get the logged in user Teams Presence, and show that state in the PowerApp.
I have previously written another post on Teams Presence, Microsoft Graph and requirements here: Subscribing to Teams Presence with Graph API using Power Platform | GoToGuy Blog. If you want to dig deeper into that I would recommend that you read that post, but for now in this article I will show how you can get your Teams Presence into the Hue Power App.
Teams Presence is currently available in the beta endpoint of Microsoft Graph here: https://graph.microsoft.com/beta/me/presence
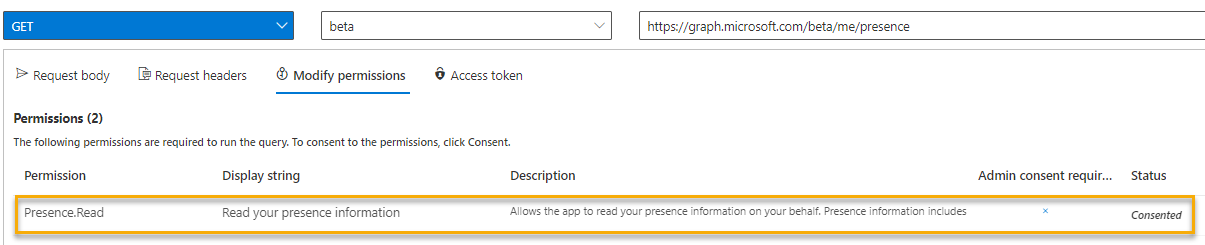
If you quickly want to check your own Teams Presence via the Microsoft Graph you can try the following. Just click this link that will launch in Graph Explorer: https://developer.microsoft.com/en-us/graph/graph-explorer?request=me%2Fpresence&method=GET&version=beta&GraphUrl=https://graph.microsoft.com
Just remember to consent to the Presence.Read permission as shown below:
As always when calling Microsoft Graph, we need to authenticate to Azure AD and authorize to Graph API to get an access token for quierying resources. And if we want to do that from Power Platform we need to create an app registration for that in Azure AD.
App Registration in Azure AD
This step might be dependent on if your tenant administrator has restricted the users’ right to create app registrations. If so, you will need to log into your tenant as a Global Administrator or Application Administrator, or get help from your IT admin to create the following App Registration in Azure AD.
If not, the following operations don’t require admin consent or permissions, so you can go ahead and create the App Registration. At the Azure AD Portal, go to https://aad.portal.azure.com, App Registrations and add a new like below:
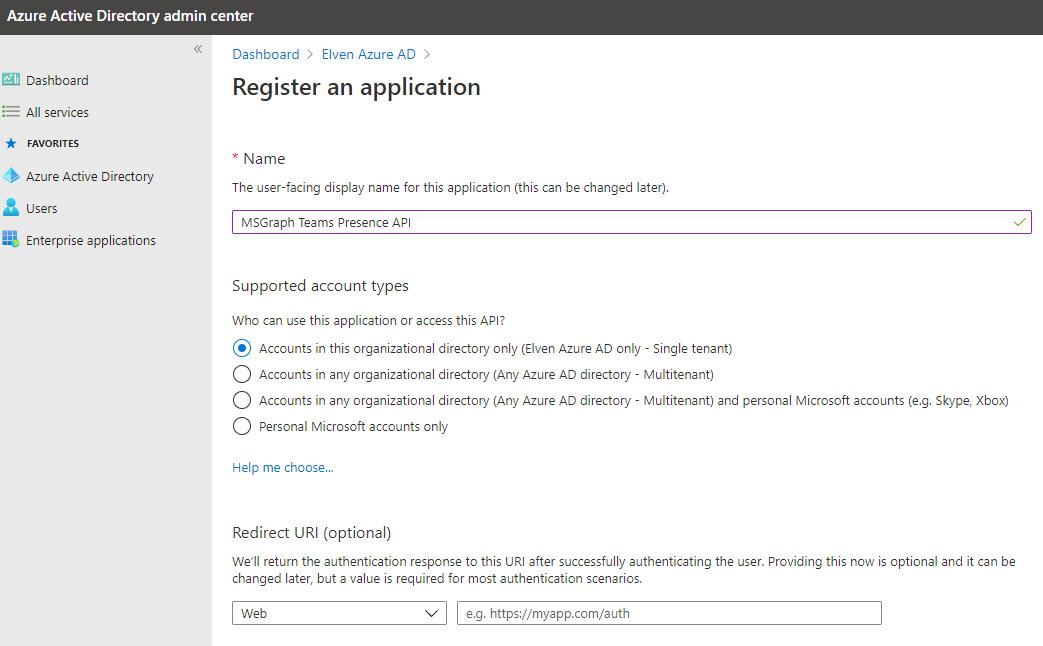
Just leave the Redirect URI blank for now and click register.
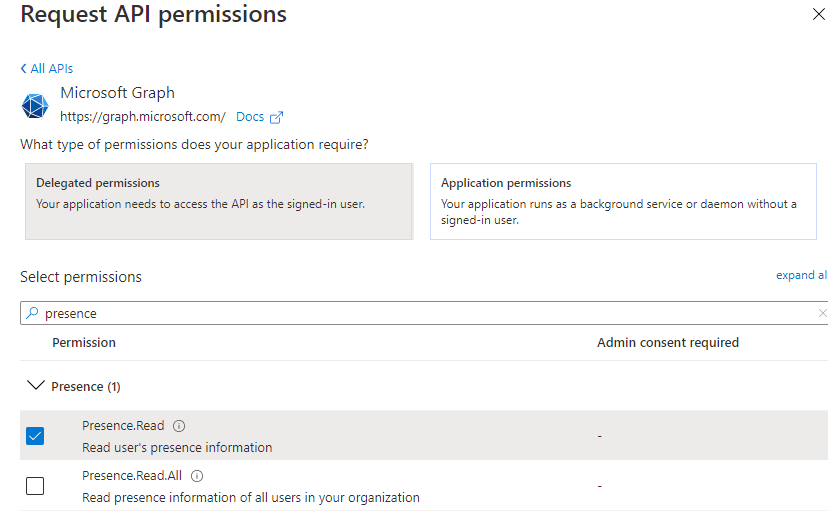
Next, click on API Permissions, and click add a permission and select Microsoft Graph at the top, click on Delegated permissions, and add the Presence.Read permission as shown below:
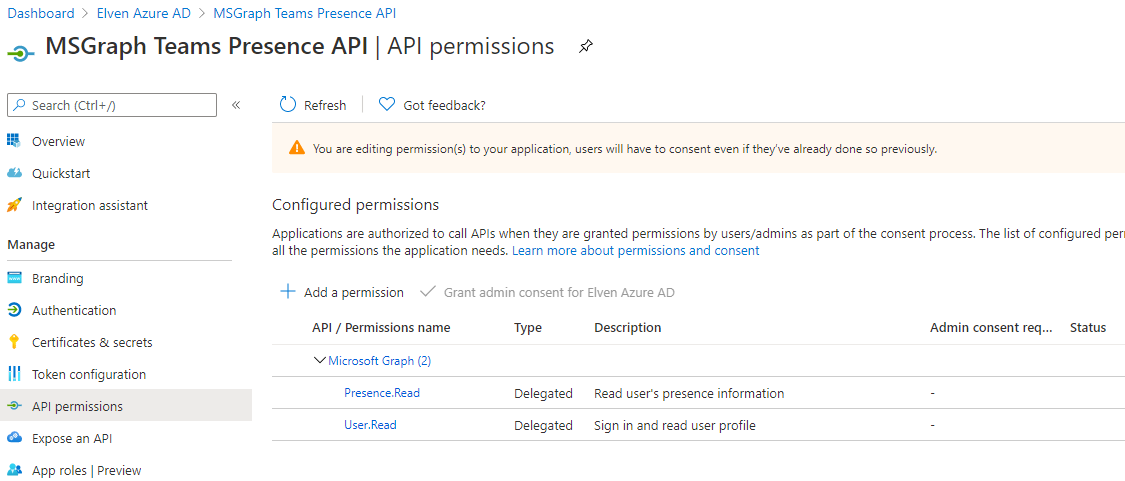
You should now have the following permissions:
Next, go to Certificates & secrets, add a new client secret with a description, and select your chosen expiry:
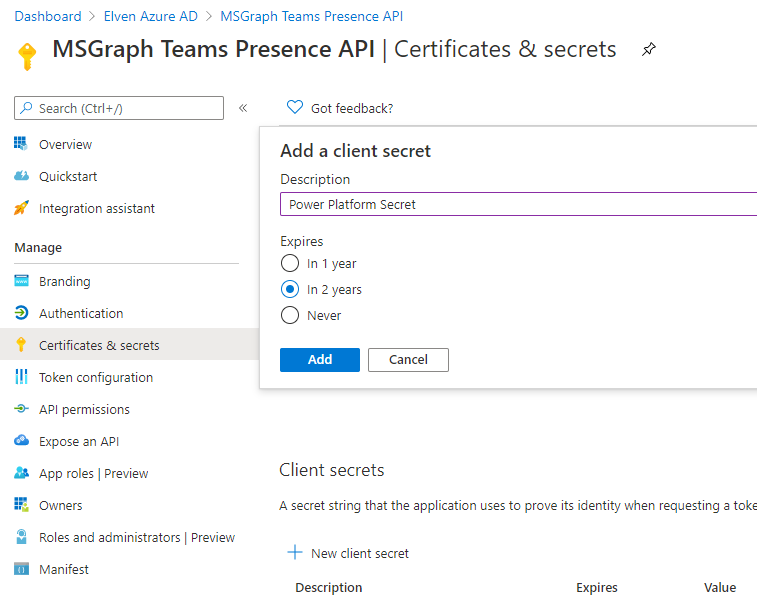
Click Add and copy the secret value which will showed only this once. Save this secret for now, we will need it later. Also, go back to overview and copy the Application (Client) Id for later. We will need that as well.
There is just one thing left in this app registration, but for now we need to switch over to Power Platform for creating the Custom Connector.
Custom Connector in Power Platform for Microsoft Graph
We will now create a custom connector in Power Platform to reference this App Registration and get the Presence. Log either into make.powerapps.com, or flow.microsoft.com, for this next step.
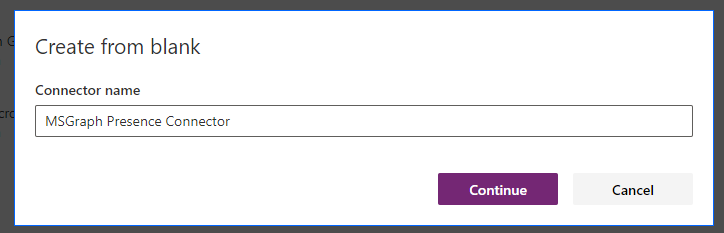
Under the Data menu, select Custom Connectors. Select to add new connector from blank, and give it a name:
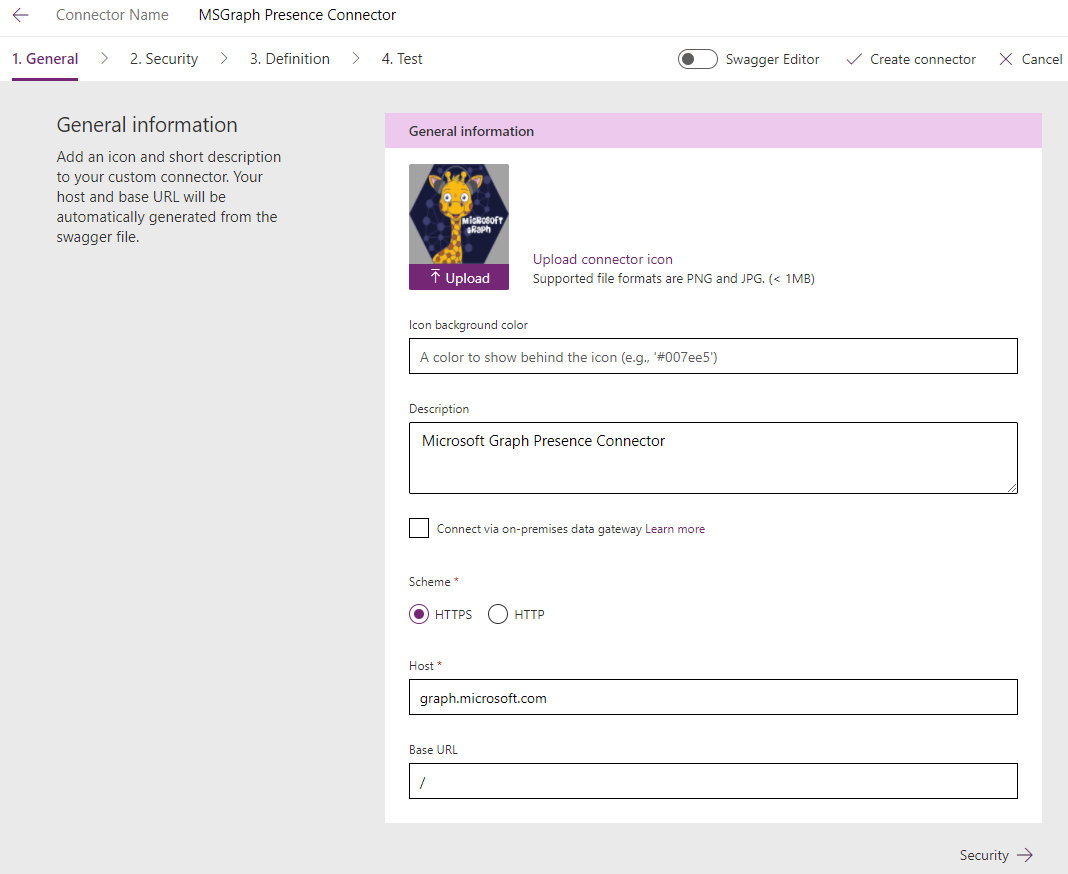
Select Continue, and on the General page, type graph.microsoft.com as host. You can also upload an icon and a description:
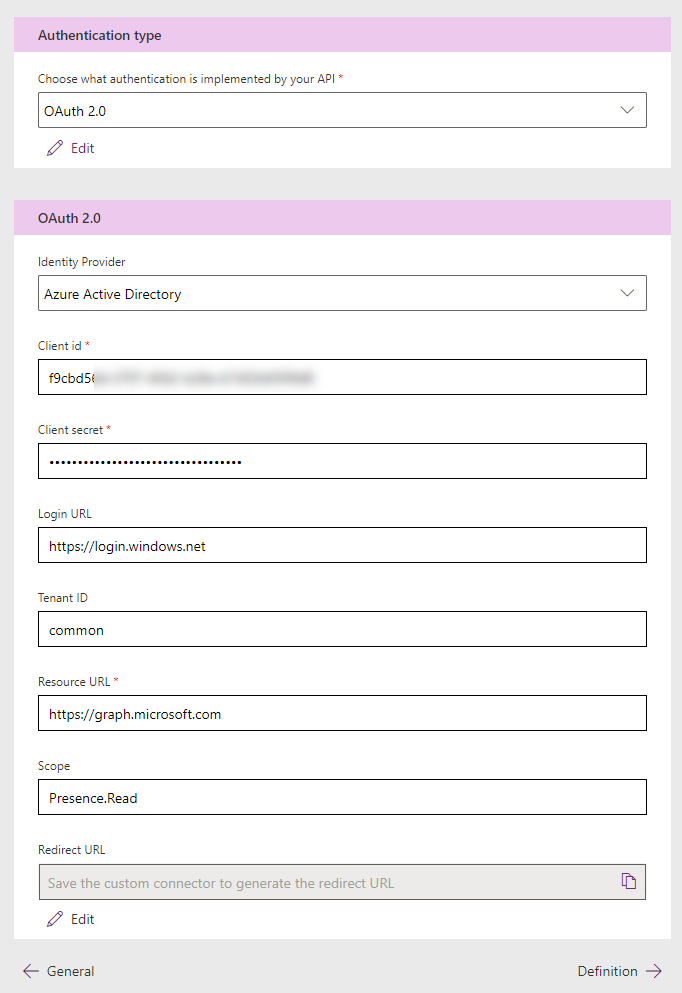
On the Security page, select OAuth 2.0 as type, and Azure Active Directory for Identity Provider. Client Id and Secret is the App Id and Secret from the App Registration earlier. Resource Url is https://graph.microsoft.com, and specify the scope to be Presence.Read:
After that, click on “Create Connector”, and the the “Redirect URL” will be populated:
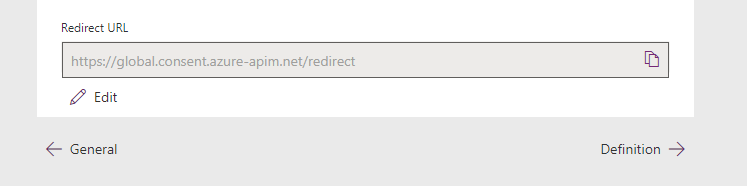
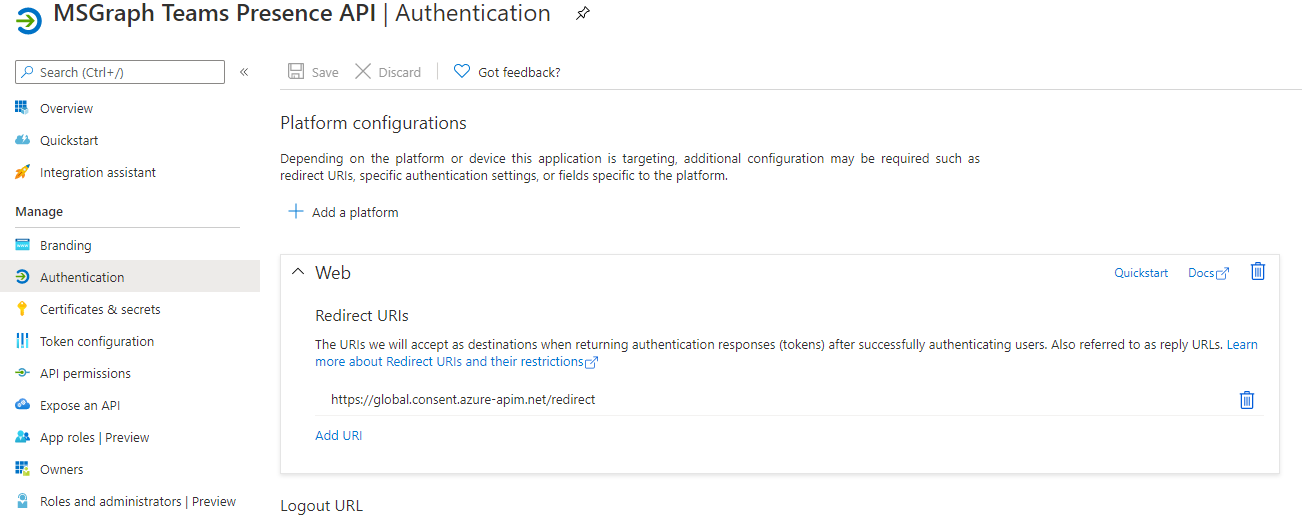
Copy this URL and add it as a Web platform Redirect URI back in the Azure AD App Registration:
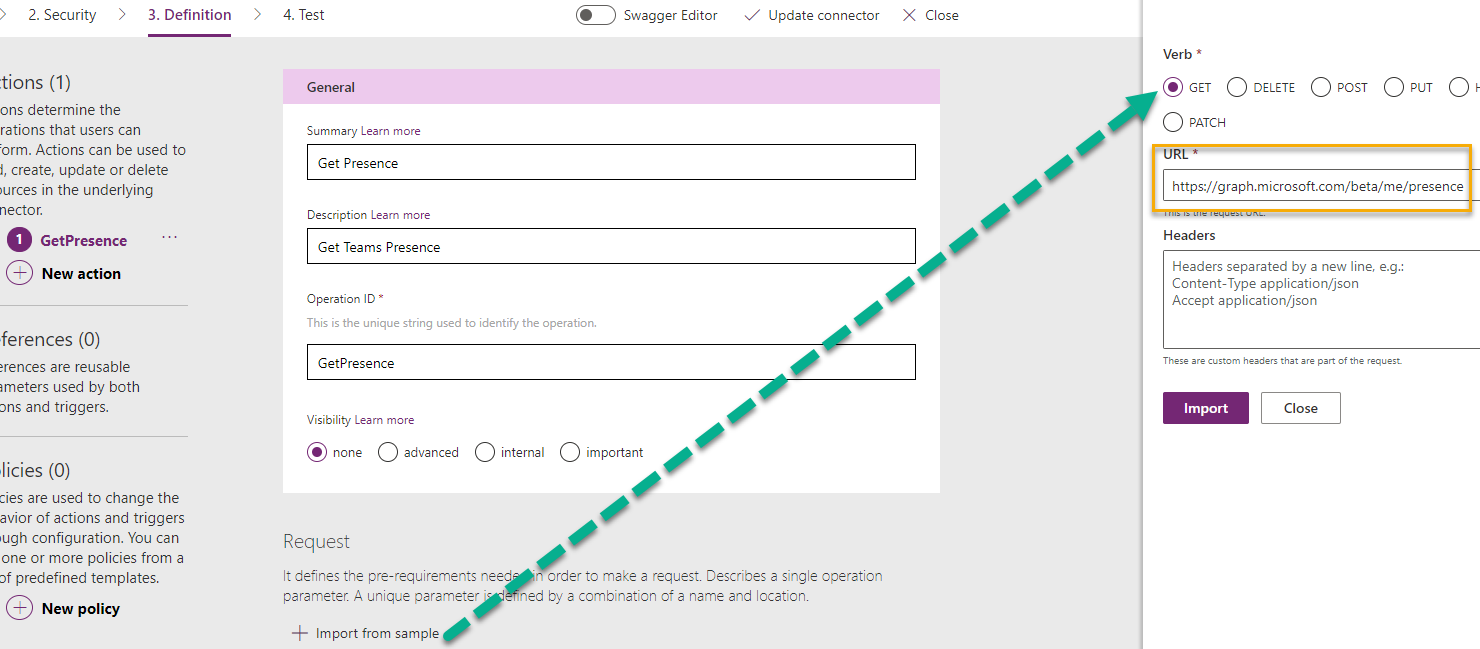
Back in the Custom Connector, go to Step 3. Definition, and click New Action. Type in a Summary “Get Presence” and Operation ID “GetPresence”, and under Request click Import from sample. Specify Get as verb, and URL to https://graph.microsoft.com/beta/me/presence, like below, and click Import:
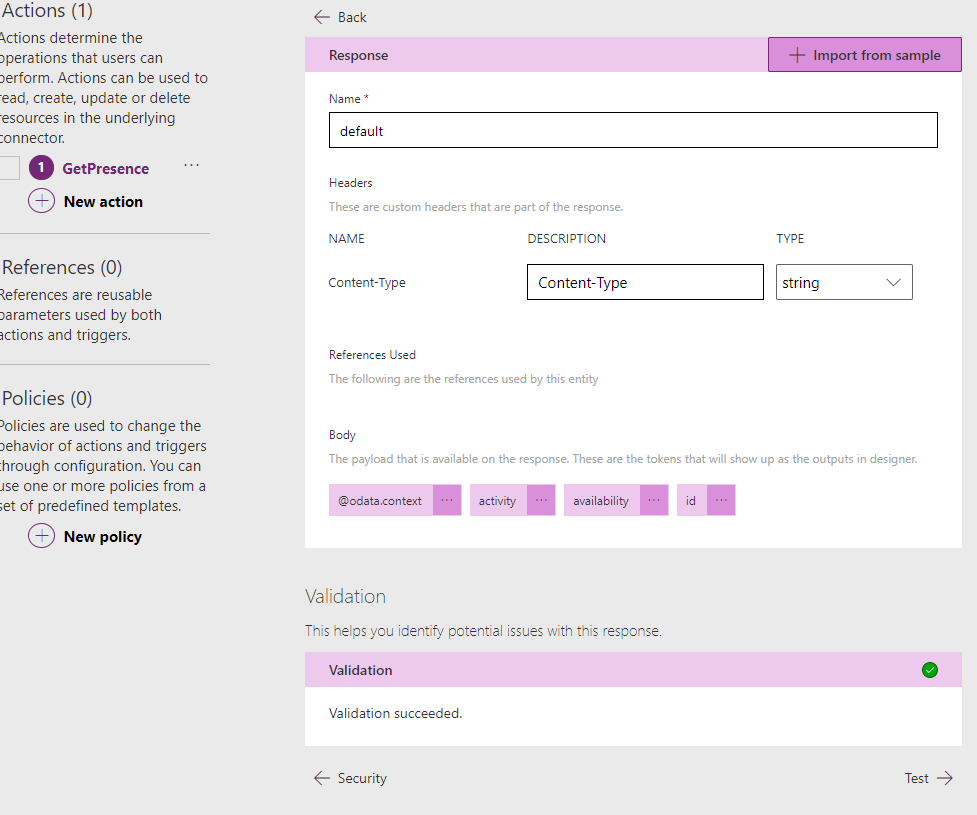
Go to the Response section, and click on the Default response. Click on Import from sample and specify Content-Type application/json for Header response, and for Body, paste in the response you got when you tried the presence query in Graph Explorer in the beginning of this blog post:
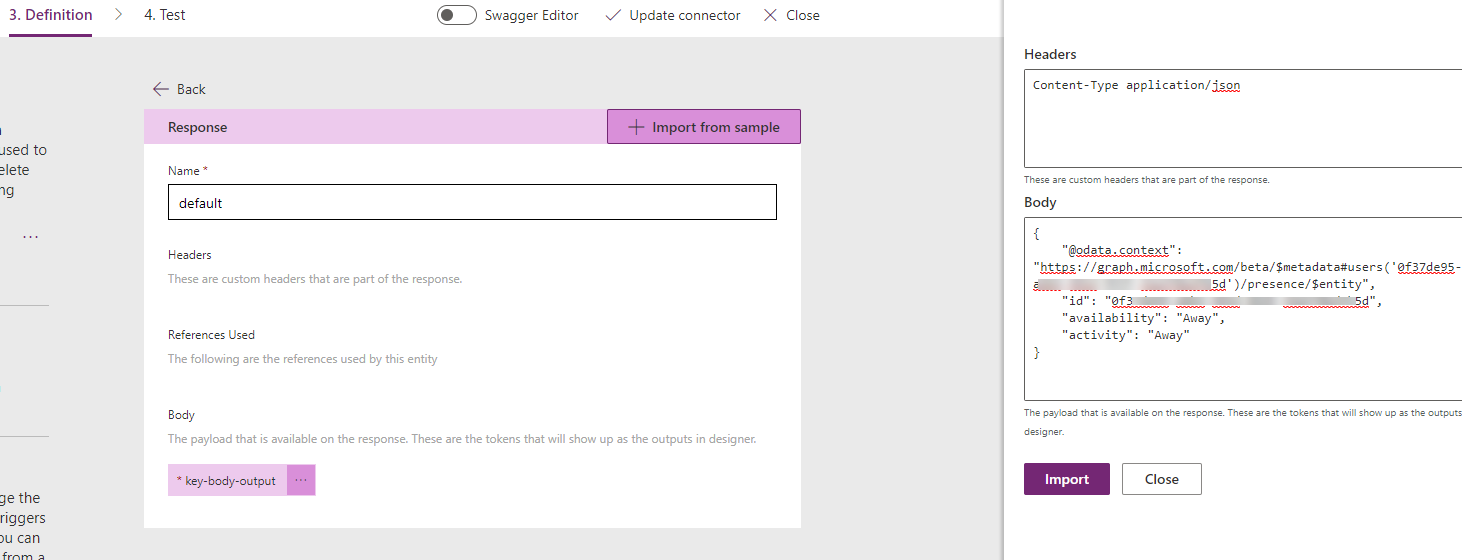
The action should now look like this:
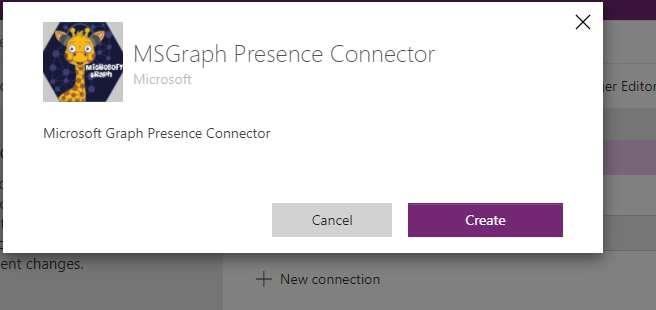
We can now proceed to Test. Click on Update Connector and under 4. Test click on “New connection”, and then Create:
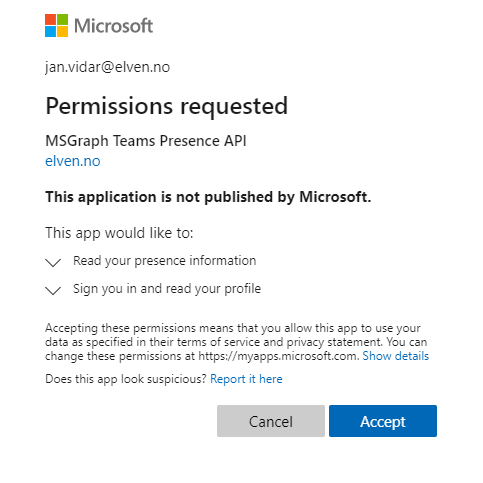
Sign in and then accept the application to read your presence information and profile as shown below:
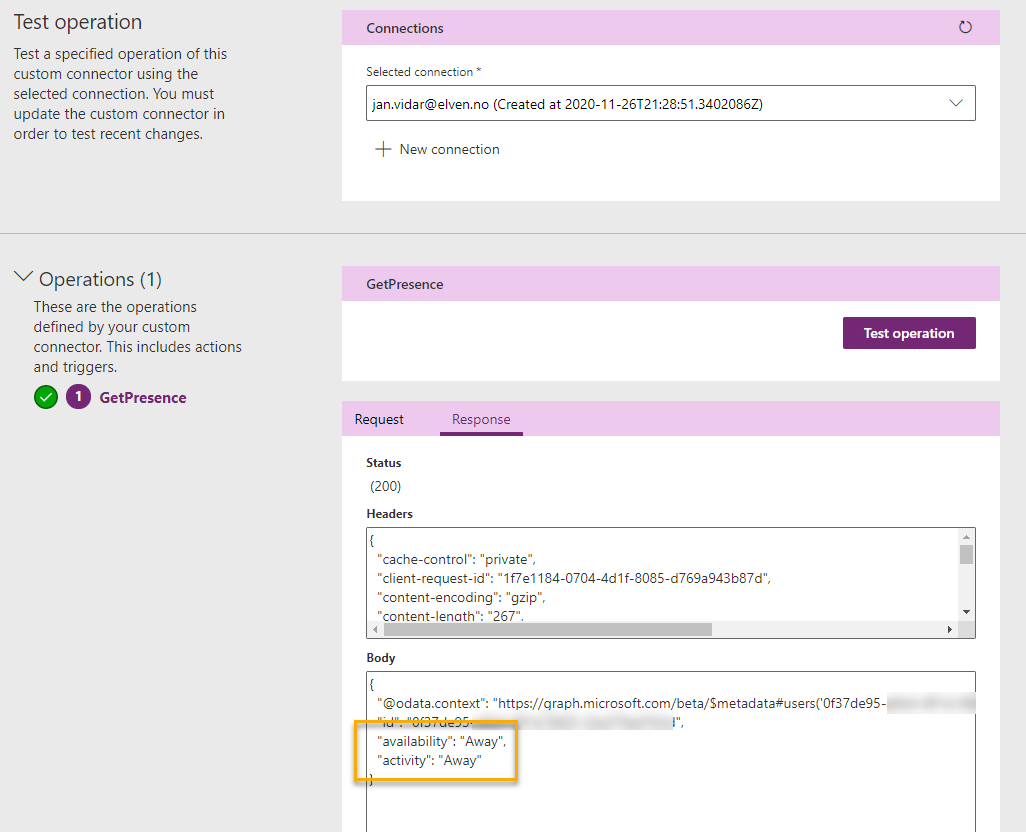
I can now test the GetPresence action with the signed in connection, and verify a successful response. In my case my availability just now is “Away”:
With the Custom Connector now ready, I can proceed to add this status to my PowerApp.
Customizing the Hue Power App to get Presence
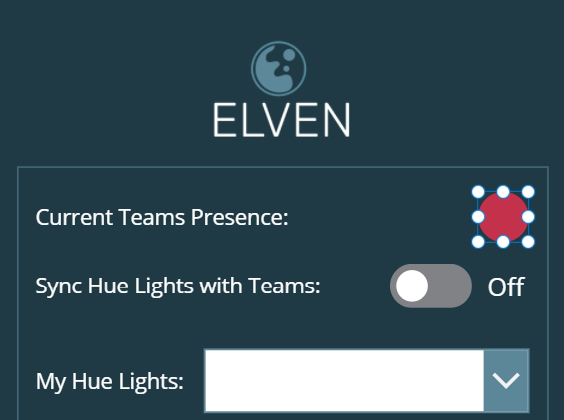
Back in my Power App i created in earlier parts of this blog series, I want this icon to reflect my Teams Presence status. I will start simple by adding an OnSelect event to this icon, that will get my Presence status using the Custom Connector.
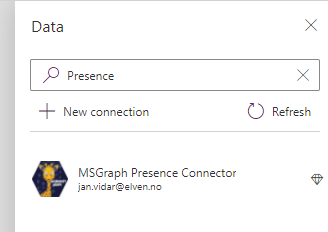
Under View menu, and Data, select to add the custom connector as a new connection to the PowerApp:
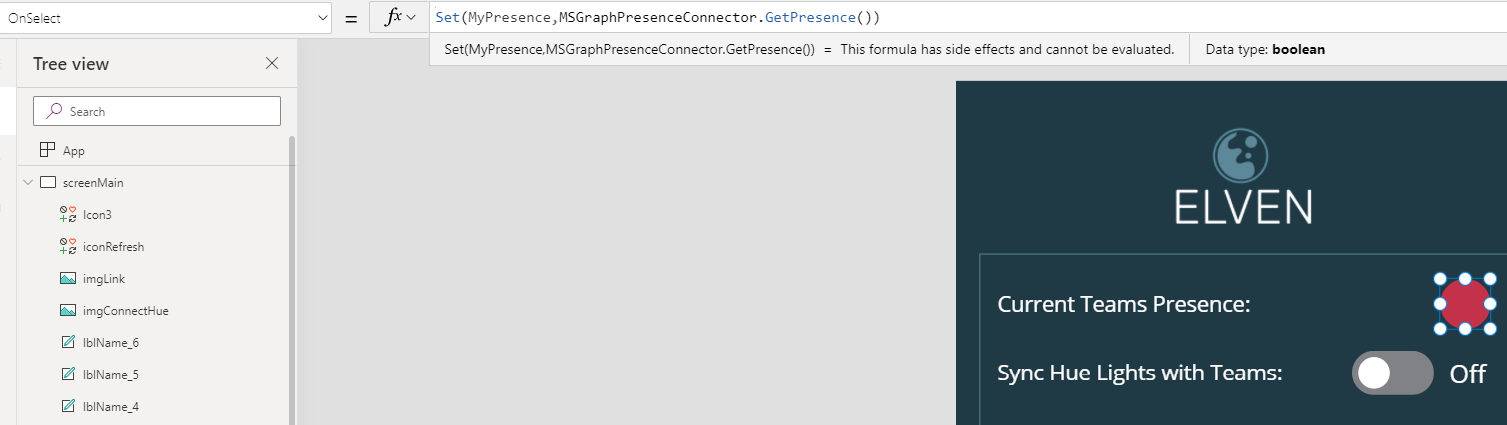
On the OnSelect event for the presence icon, I will use Set function and a variable called MyPresence, where I run the Custom connector and GetPresence operation like below:
Set(MyPresence,MSGraphPresenceConnector.GetPresence())
This is how it looks:
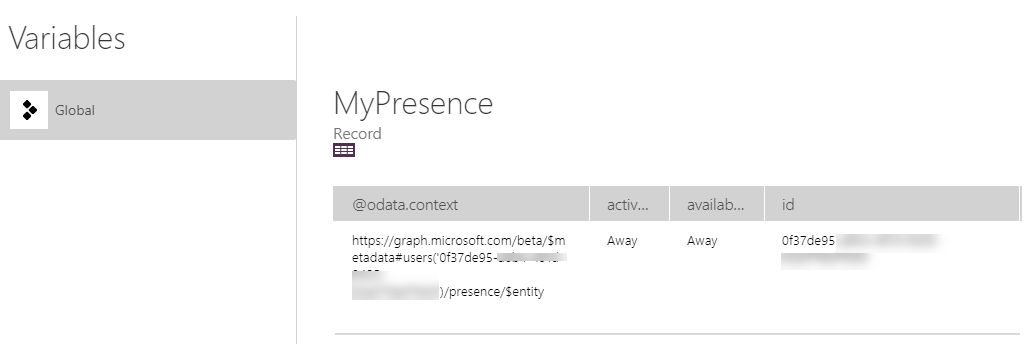
Holding down ALT button, I can now click on the Icon to run the OnSelect event, and after that I can go to the View menu again, then under variables I will find the MyPresence variable. When looking into that record, I can verify that I indeed have received my presence status:
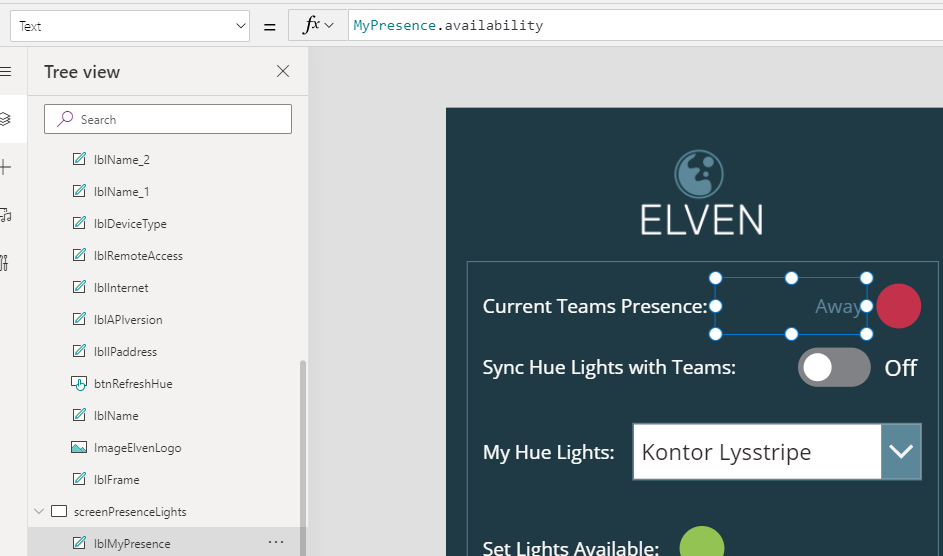
The next part would be to update the color of the Icon to reflect the status. I also, for now at least want an extra label that specifies the status as a text value. Lets start by that. I add a label next to the Icon and then set the Text property to “MyPresence.availability”, as shown under:
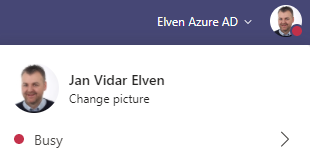
You should now be able to change the Teams Presence and then click on the Icon in the Hue Power App to update presence status text:

From the Graph Documentation, presence resource type – Microsoft Graph beta | Microsoft Docs, the following values are possible for presence availability, and I have added the suggested colors for these statuses:
- Away (Yellow)
- Available (Green)
- AvailableIdle (Green)
- Busy (Red)
- BusyIdle (Red)
- BeRightBack (Yellow)
- DoNotDisturb (Red)
- Offline (Light Grey)
- PresenceUnknown (White)
So what remaining is that I want to update the color of the Teams Presence Icon also to reflect the status. And for this I chose to use the Switch function, where I evaluate the MyPresence.availability variable, and have different results:
Switch( MyPresence.availability, "Away", "Result1", "Available", "Result2", "AvailableIdle", "Result3", "Busy", "Result4", "BusyIdle", "Result5", "BeRightBack", "Result6", "DoNotDisturb", "Result7", "Offline", "Result8", "PresenceUnknown", "Result9", "DefaultResult" )
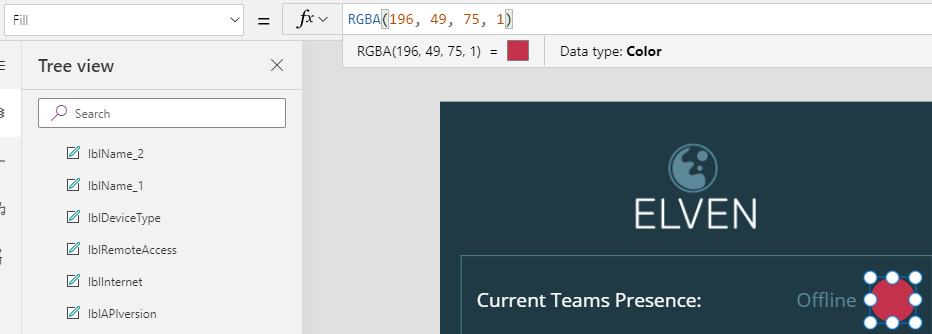
I will use that Switch formula to set the Fill property of the Icon, which now is manually set to Red like this:
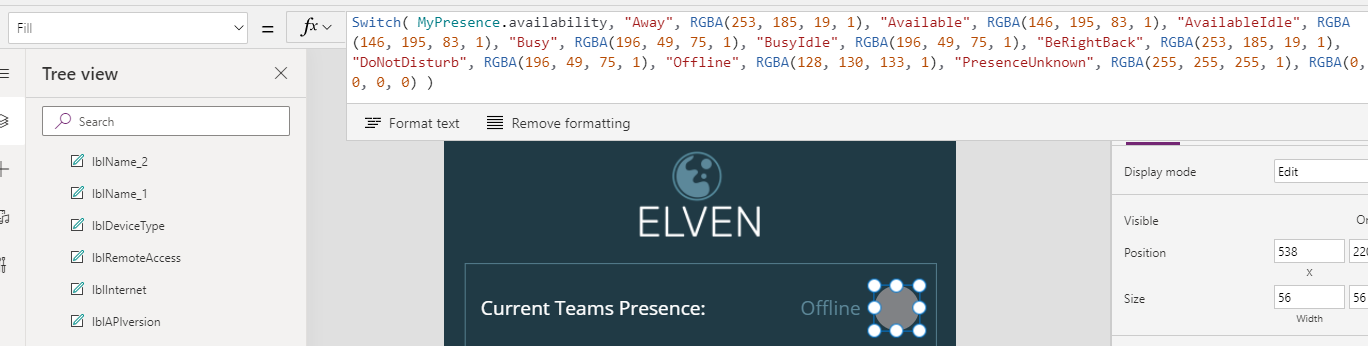
So after picking the colors, I end up with this formula:
Switch( MyPresence.availability, "Away", RGBA(253, 185, 19, 1), "Available", RGBA(146, 195, 83, 1), "AvailableIdle", RGBA(146, 195, 83, 1), "Busy", RGBA(196, 49, 75, 1), "BusyIdle", RGBA(196, 49, 75, 1), "BeRightBack", RGBA(253, 185, 19, 1), "DoNotDisturb", RGBA(196, 49, 75, 1), "Offline", RGBA(128, 130, 133, 1), "PresenceUnknown", RGBA(255, 255, 255, 1), RGBA(0, 0, 0, 0) )
Adding this to the Fill property of the Icon:
After this you should be able to change your Teams Presence status, and then click on the Icon to update the status in the PowerApp:
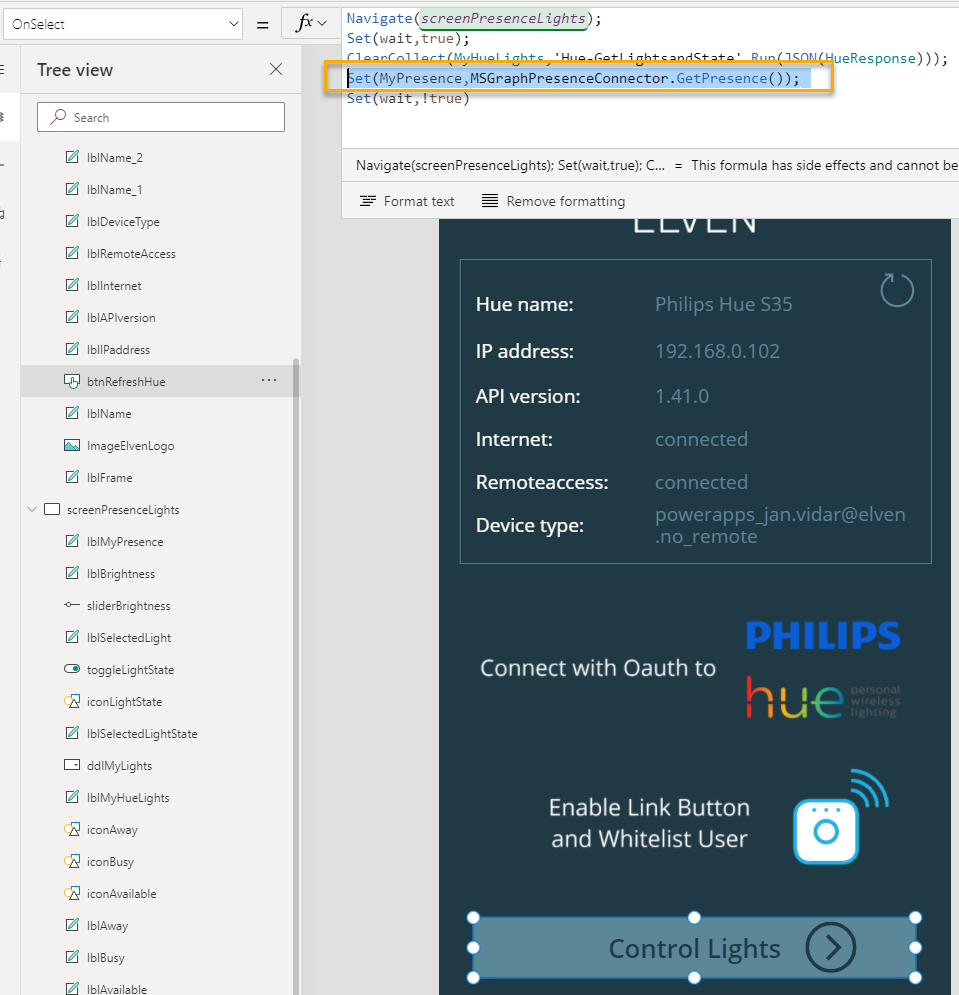
One last ting remains before I conclude this blog post, and that is that I want to update the presence status everytime I navigate to this screen in my PowerApp. I’ll just add the following line to the OnSelect event for the Control Lights button on the main screen:
Summary & Next Steps
In this blog post I have shown how you can get the Teams Presence status into the Hue Power App, and for now the status is manually updated either by clicking on the status Icon, or when navigating to the lights screen.
In the next, and last part, of this blog series, I will show how you can subscribe to Microsoft Graph changes, so that you can automatically get status updates.
Thanks for reading so far, see you in the last part 10 of this blog series!

Pingback: Blog Series – Power’ing up your Home Office Lights using Power Platform – Introduction | GoToGuy Blog