The Scenario
Updated blog post: 10th November 2015. With todays release of Update Rollup 8 for Service Manager 2012 R2 (https://www.microsoft.com/en-us/download/details.aspx?id=49556) and the new HTML5 based Self Service Portal, I have made some changes to this blog post where the scenario is updated. Please read on for how to publish this portal externally via Azure AD App Proxy:
Recently in a SCSM LyncUp call news came of a coming Self Service Portal that the Service Manager Team are working on. This portal will no longer have a requirement for SharePoint and Silverlight, and will be built on HTML5. Stefan Johner has a good write-up on the features here: http://jhnr.ch/2015/08/22/service-manager-lync-up-summary-august-2015-new-portal-sneak-preview/.
For a while ago I had a blog article on how to publish the Cireson Self Service Portal via the Azure AD Application Proxy (https://systemcenterpoint.wordpress.com/2015/03/26/publish-the-cireson-self-service-portal-with-azure-ad-application-proxy/), and in this blog article I will describe how to publish the new SCSM Self Service Portal. This will give me some interesting possibilities for pre-authentication and controlling user access.
There are two authentication scenarios for publishing this Self Service Portal with Azure AD App Proxy:
- Publish without pre-authentication (pass through). This scenario is best used when the Self Service Portal is running Forms Authentication, so that the user can choose which identity they want to log in with. As the new SCSM Self Service Portal doesn’t support Forms Authentication, this is not really an option here.
- Publish with pre-authentication. This scenario will use Azure AD authentication, and is best used when the Self Service Portal is running Windows Authentication so that we can have single sign-on with the Azure AD identity.
It is the second scenario with pre-authentication I will configure here.
I went through these steps:
Verify Windows Authentication for Service Manager Self Service Portal
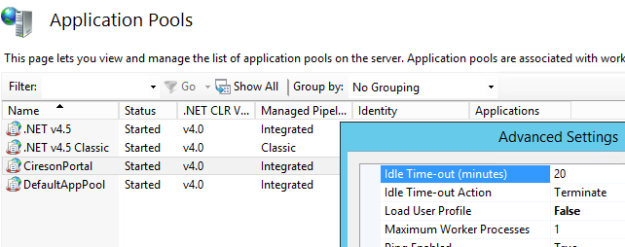
The Service Manager Self Service Portal installs per default with Windows Integrated Authentication. From my environment, I can verify the following configuration settings:
- Windows Authentication is enabled for the Web Site Application
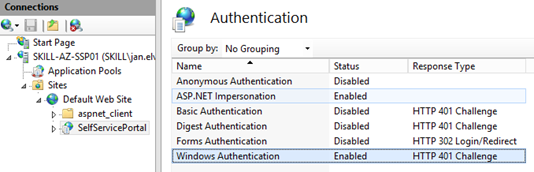
- On Advanced settings for the Web Site Application, Kernel Mode Authentication Enabled and Extended Protection to Off. For Providers Negotiate are listed on top.
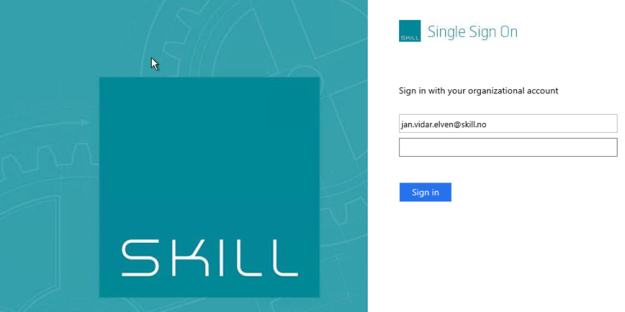
It is a good idea at this point to verify that Windows Integrated Authentication is working correctly by browsing internally to http[s]://scsmportalservername:[port]/selfserviceportal. Your current logged on user (if permissions are correct) should be logged in automatically.
Create the Application in Azure AD
In this next step, I will create the Proxy Application in Azure AD where the Self Service Portal will be published. To be able to create Proxy Applications I will need to have either an Enterprise Mobility Suite license plan, or Azure AD Basic/Premium license plan. From the Azure Management Portal and Active Directory, under Applications, I add a new Application and select to “Publish an application that will be accessible from outside your network”:

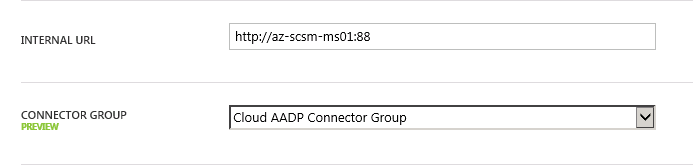
I will then give a name for my application, specify the internal URL and pre-authentication method. I name my application “SCSM Self Service Portal”, use “http://portalserverfqdn:%5Bport%5D” as internal URL and choose Azure Active Directory as Pre-Authentication method.
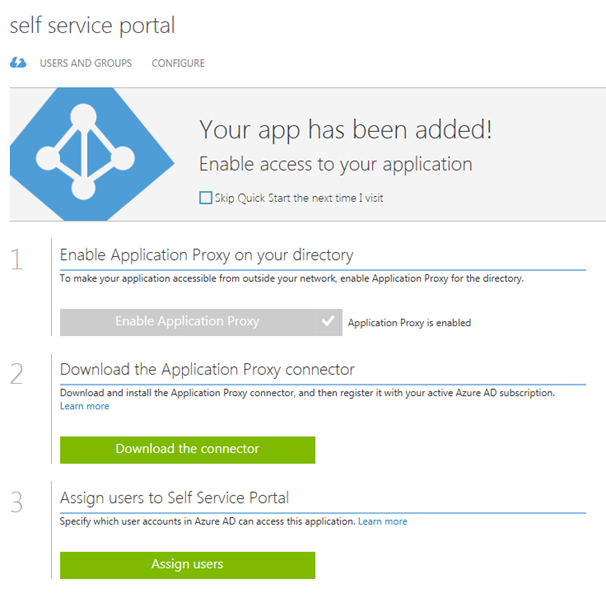
After the Proxy Application is added, there are some additional configurations to be done. If I have not already, Application Proxy for the directory have to be enabled. I have created other Proxy Applications before this, so I have already done that.
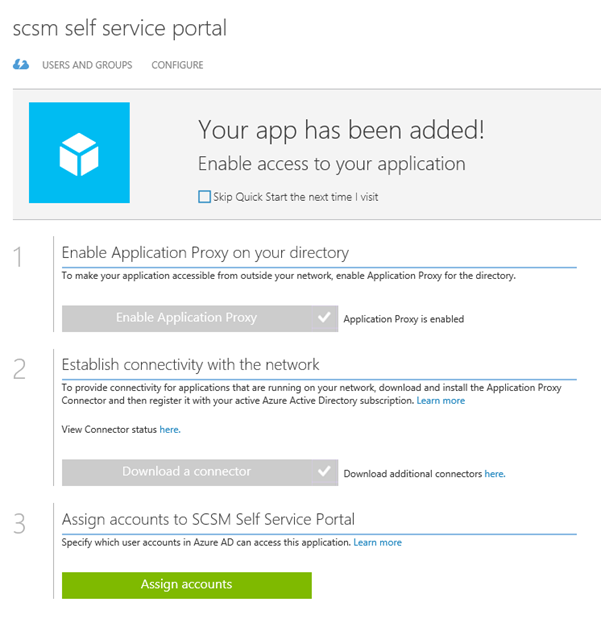
I also need to download the Application Proxy connector, install and register this on a Server that is member of my own Active Directory. The Server that I choose can be either on an On-Premise network, or in an Azure Network. As long as the Server running the Proxy connector can reach the internal URL, I can choose which Server that best fits my needs.
Update: Regarding AADP Connector, you can now greate connector groups and configure the application to use the group of connector(s) you choose:
Since I choose to use pre-authentication, I can also assign individual users or groups to the Application. This enables me to control which users who will see the application under their My Apps and who will be able access the application’s external URL directly.
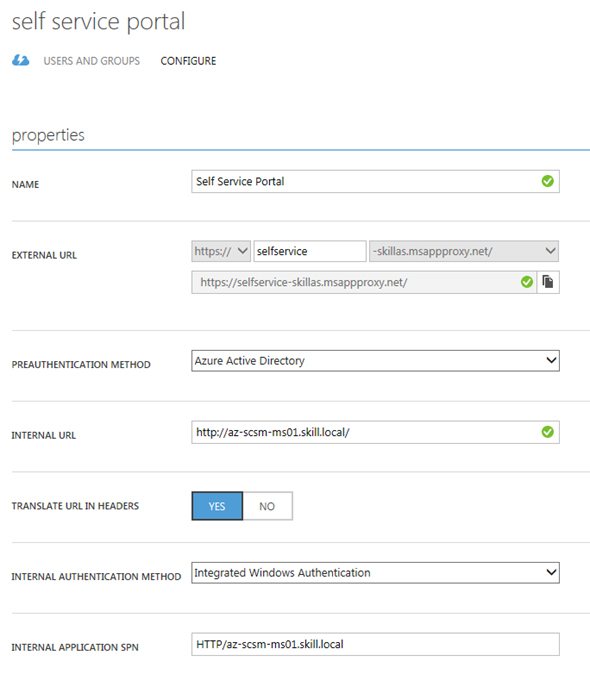
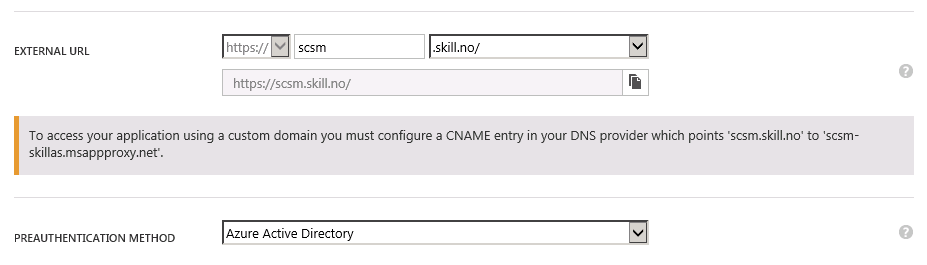
I now need to make additional configurations to the application, and go to the Configure menu. From here I can configure the name, external URL, pre-authentication method and internal URL, if I need to change something.
I choose to change the External URL so that I use my custom domain, and note the warning about creating a CNAME record in external DNS. After that I hit Save so that I can configure the Certificate.
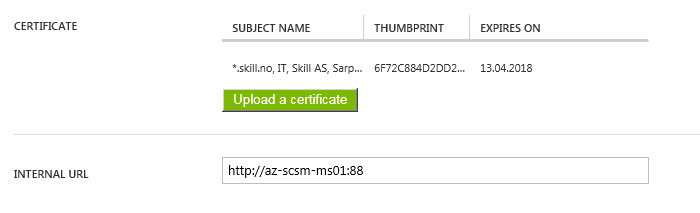
Since I have already uploaded a certificate (see previous blog post https://systemcenterpoint.wordpress.com/2015/06/10/using-a-custom-domain-name-for-an-application-published-with-with-azure-ad-application-proxy/), I can just verify that it is correct.
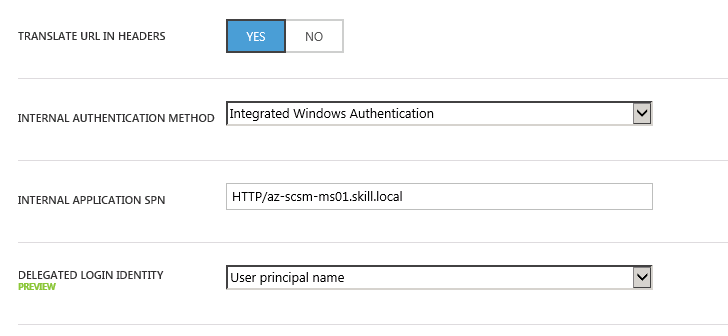
Next I need to configure to use Internal Authentication Method “Windows Integrated Authentication”. I also need to configure the Service Principal Name (SPN). Here I specify HTTP/portalserverfqdn, in my example this is HTTP/az-scsm-ms01.skill.local.
Update: You can now choose which Identity to delegate, in this case UPN is fine.
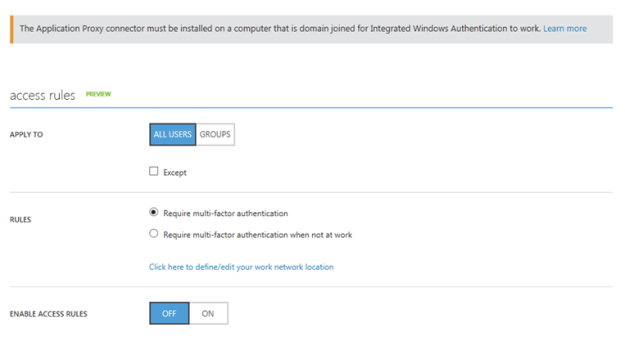
From the bottom part of the configuration settings I can configure Acces Rules, which at this time is in Preview. This is cool, because I can for example require for this Application that users will be required to use multi-factor authentication. I have not enabled that here though.
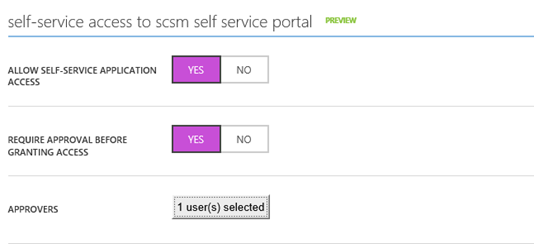
Another feature that is in Preview, is to allow Self-Service Access to the published application. I have configured this here, so that users can request access to the application from the Access Panel (https://myapps.microsoft.com).
After I have configured this and uploaded a logo, I am finished at this step, and now need to configure some more settings in my local Active Directory.
Configure Kerberos Constrained Delegation for the Proxy Connector Server
I now need to configure so that the Server running the Proxy Connector can impersonate users pre-authenticating with Azure AD and use Windows Integrated Authentication to the Self Service Portal Server.
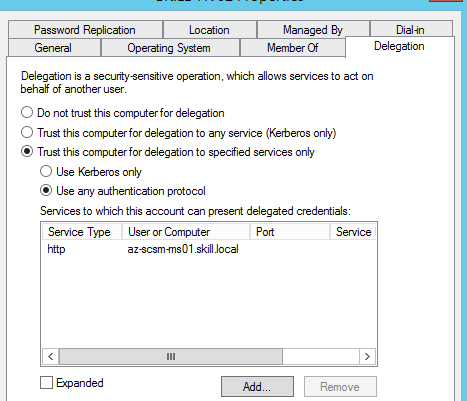
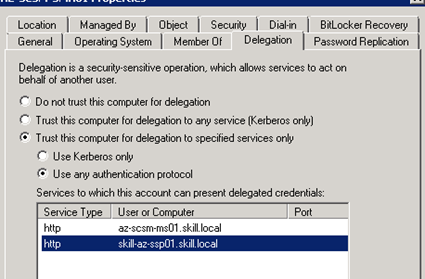
I find the Computer Account in Active Directory for the Connector Server, and on the Delegation tab click on “Trust this computer for delegation to specified services only”, and to “Use any authentication protocol”. Then I add the computer name for the portal server and specify the http service as shown below (I already have an existing delegation set up):
This was the last step in my configuration, and I am almost ready to test.
If you, like me, have an environment consisting on both On-Premise and Azure Servers in a Hybrid Datacenter, please allow room for AD replication of these SPN’s and more.
Testing the published application!
Now I am ready to test the published proxy application.
Remember from earlier that I have assigned the application either to a group of all or some users or directly to some pilot users for example.
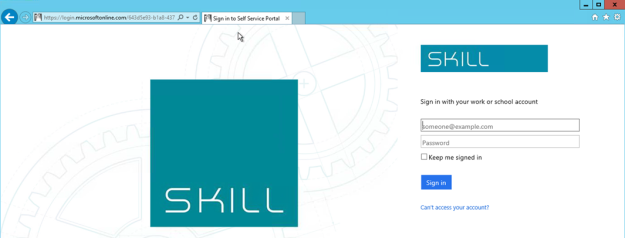
I will now log on with my Azure AD user (which of course is synchronized from local Active Directory), and I will use the URL https://myapps.microsoft.com.
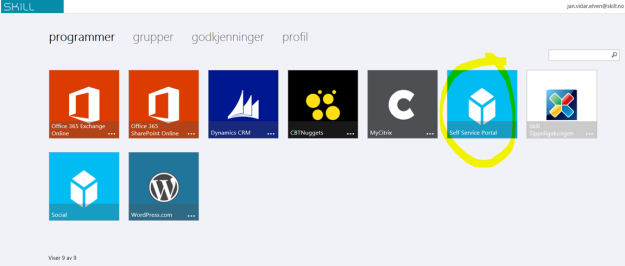
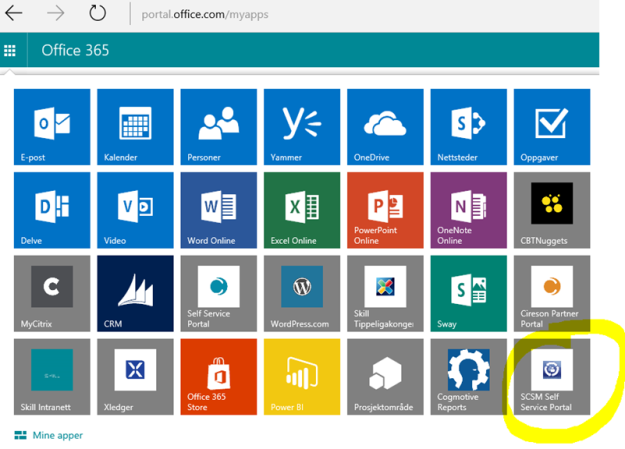
After logging on, I can see the applications I have access to. Some of these are SaaS applications I have configured, some are applications we have developed ourselves, and I can see the published Self Service Portal:
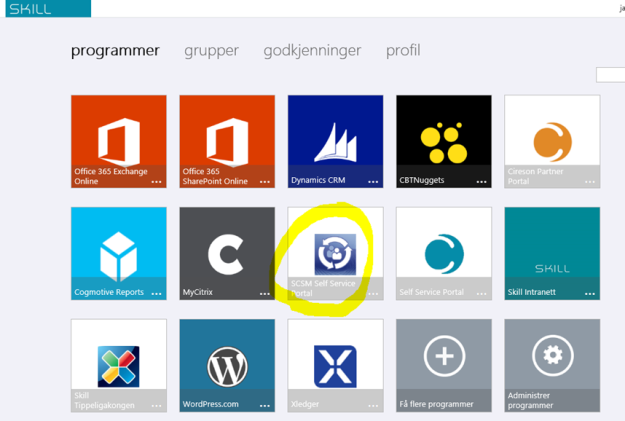
(Don’t mind the Norwegian captions and texts, you get the idea;)
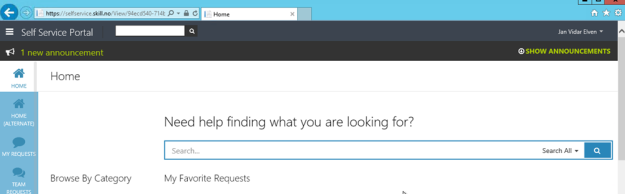
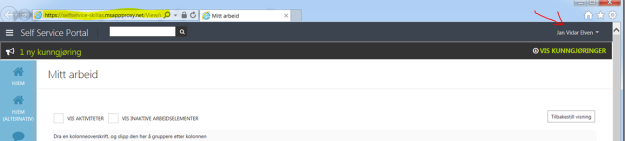
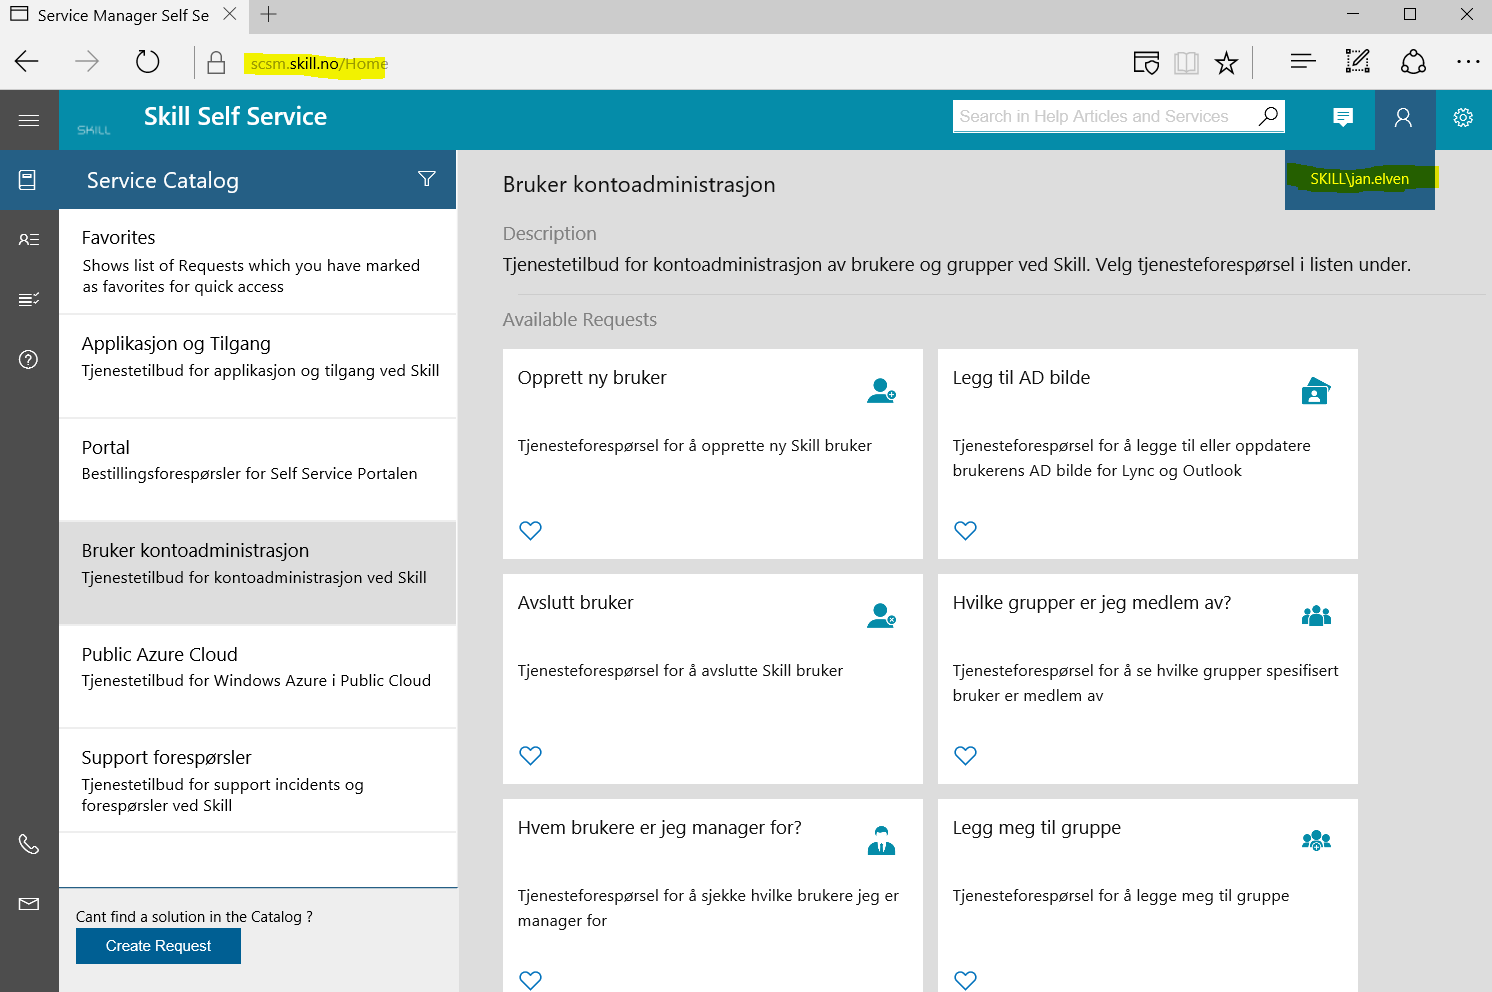
I then click on the SCSM Self Service Portal, and can confirm that I am able to access the Self Service Portal. See the external URL I specified and that indeed I’m logged in with my Active Directory user with SSO.
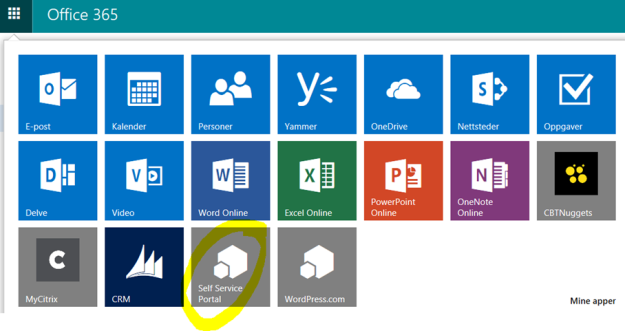
Another cool thing is that I can use the App menu in Office 365 and add the Self Service Portal to the App chooser for easy access:
I can now also access the Self Service Application from the “My Apps” App on my Mobile Devices.