Using a Custom Domain Name for an Application Published with with Azure AD Application Proxy
This is a follow up post from an earlier blog post on how to Publish the Cireson Self Service Portal with Azure AD Application Proxy . Is this blog post I will show how to configure a custom domain name for the same published application.
Change External URL
From earlier I already have published this application with the external URL of https://selfservice-skillas.msapproxy.net . I will now change this to our own domain, like this:
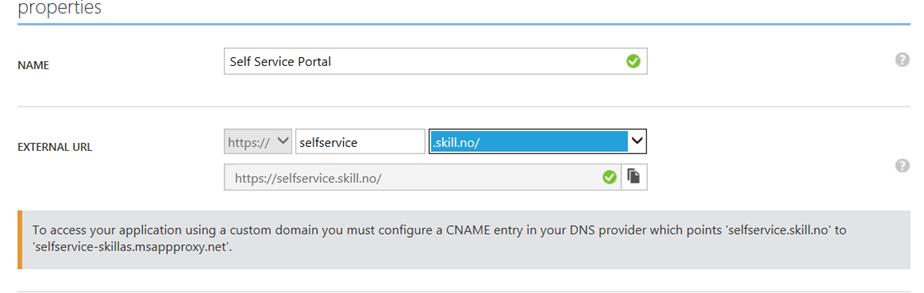
As shown over, I now have to configure the public DNS zone for my domain, with a CNAME record as specified in the screenshot.
Upload SSL Certificate
Following that, I now need to upload a SSL certificate to work with the external URL. Either a Wildcard Cert or a Certificate with common name or subject alternative name containing the external URL can be used.

When uploading the certificate I will need the .pfx file and the password to access the private key:
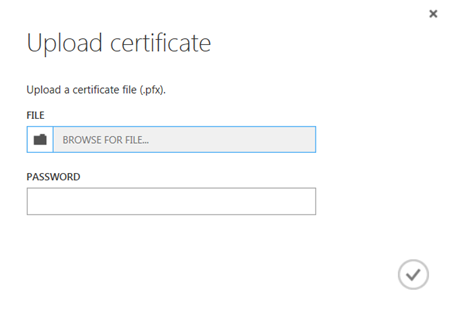
After uploading, I can verify the certificate subject, thumbprint and expiry date:

Testing the External URL
I can now test the external URL, https://selfservice.skill.no .
If I’m already authenticated with Azure AD in this session I will be directed to the external URL, or else I will have to pre-authenticate first as I have configured that.
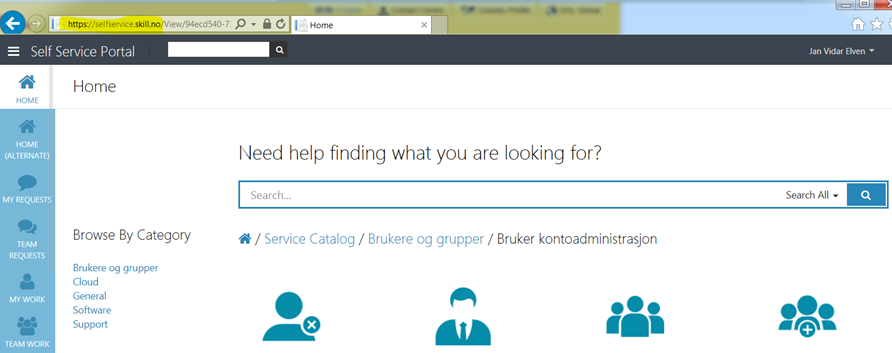
In the end, everything works as expected with the custom domain name: