Installing Microsoft Hyper-V Server 2016 on Intel NUC Skull Canyon
I recently acquired an Intel NUC (Next Unit Computing) Skull Canyon for using as portable demo and presentation lab. I will mostly run Windows 10 demo VMs and some Windows Server 2016/System Center 2016 VMs on this powerful Mini PC. I decided that I wanted to run Microsoft Hyper-V Server 2016 as the Host for my VMs, and this blog post will detail how I got it up and running.
Setting up the hardware
In addition to the Intel NUC Skull Canyon, I needed to add Hard disk and Memory. The hardware configuration I choose to start with with was:
- Intel NUC Kit NUC6i7KYK (http://www.intel.com/content/www/us/en/nuc/nuc-kit-nuc6i7kyk-features-configurations.html )
- Samsung 850 EVO M.2 500 GB SSD
- 2 x 16 GB KINGSTON SO.DIMM DDR4 2400 MHz
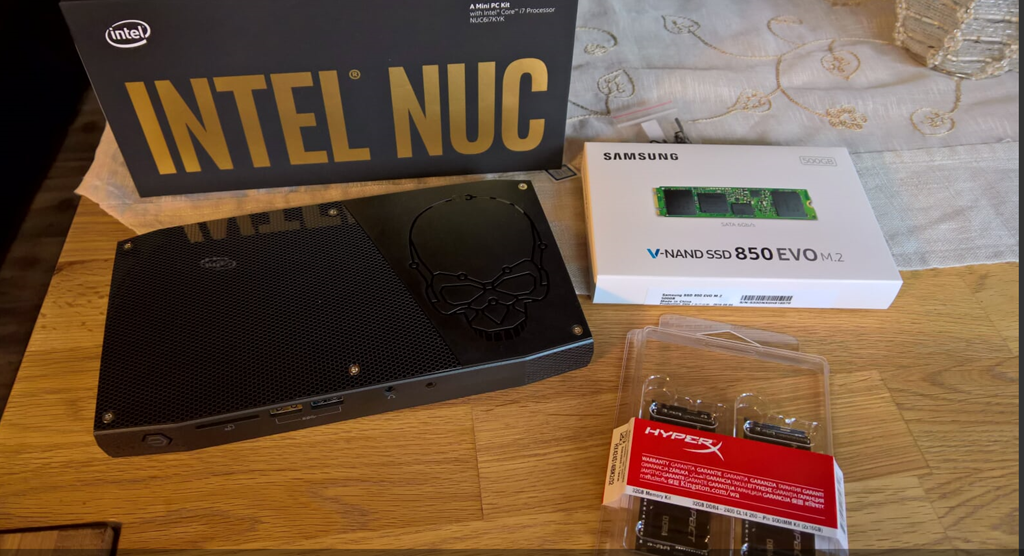
Setup Hyper-V Server 2016
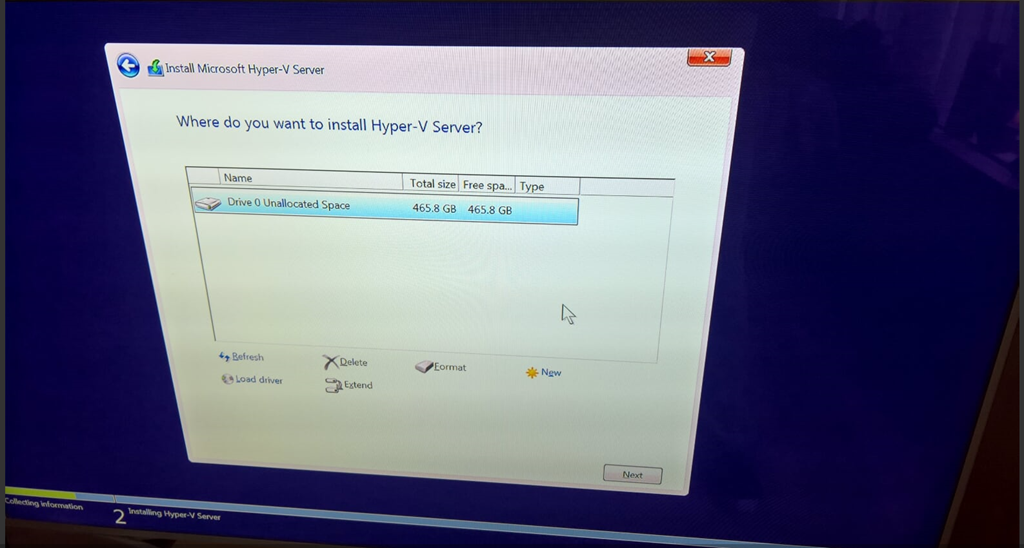
I needed to add a bootable volume for which I could install Hyper-V Server 2016, and prepared an USB stick for which I would boot up the installation media for Hyper-V Server 2016. The following blog post from Thomas Maurer had the information I needed to create the selected bootable USB media: http://www.thomasmaurer.ch/2015/12/how-to-create-windows-windows-server-bootable-usb-media-for-deployment-on-uefi-based-systems/
When booting the NUC, Hyper-V Server 2016 setup started:
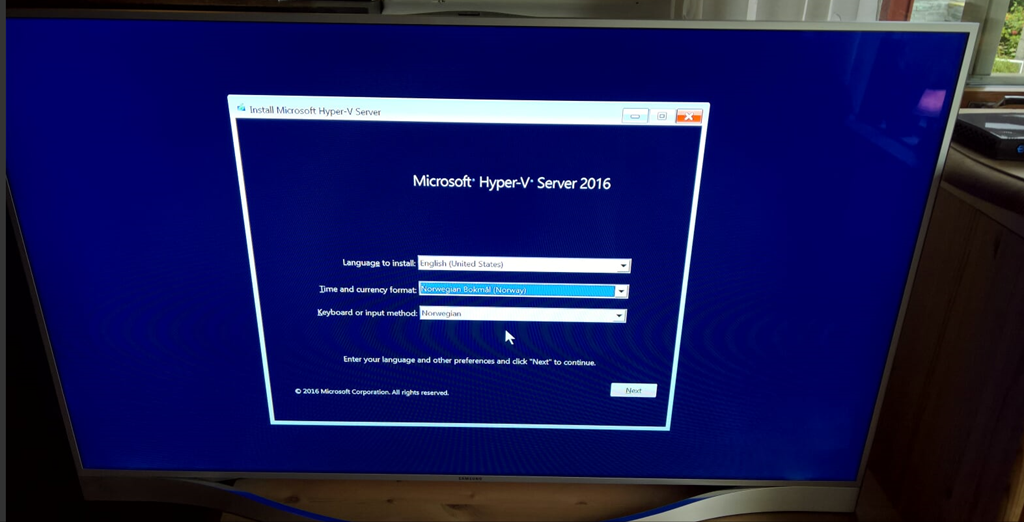
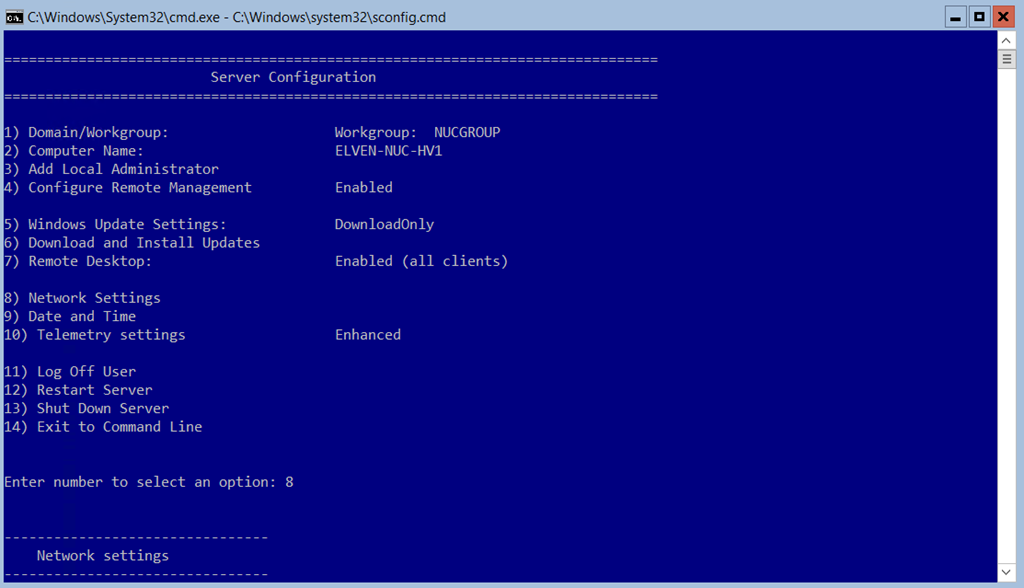
- Renamed the Computer Name, in this case I renamed the Computer to ELVEN-NUC-HV1
- Renamed the Workgroup name (optional)
- Enabled Remote Desktop (All clients, less secure). This setting can be reversed after I have configured all the Remote Management scenarios I need to.
- Under Configure Remote Management, I also Enabled the Server to Response to Ping, that could be useful when setting up the Server.
- I also downloaded and installed any pending updates.
Configure the Hyper-V Host for Remote Management
I want to use my Windows 10 machine and Hyper-V Manager to remote manage this Hyper-V Host, as described in this link: https://msdn.microsoft.com/en-us/virtualization/hyperv_on_windows/user_guide/remote_host_management . As this will be my home/portable lab, the Hyper-V Server will not be in a domain, so I need to use the instructions at the end of the above article for Manage a Hyper-V host outside your domain (or with no domain). This is the steps I went through to set that up:
Configure FQDN for the Hyper-V Host
I want to set the FQDN for the Hyper-V Host so that:
| |
Desired Primary DNS Suffix = nuc.group In Command Prompt, I first add the FQDN of the computer with the Netdom command: netdom computername %computername% /Add:ELVEN-NUC-HV1.nuc.group Second, I add the FQDN of the computer to primary: netdom computername %computername% /MakePrimary:ELVEN-NUC-HV1.nuc.group
Add the FQDN and IP address to the Hosts file
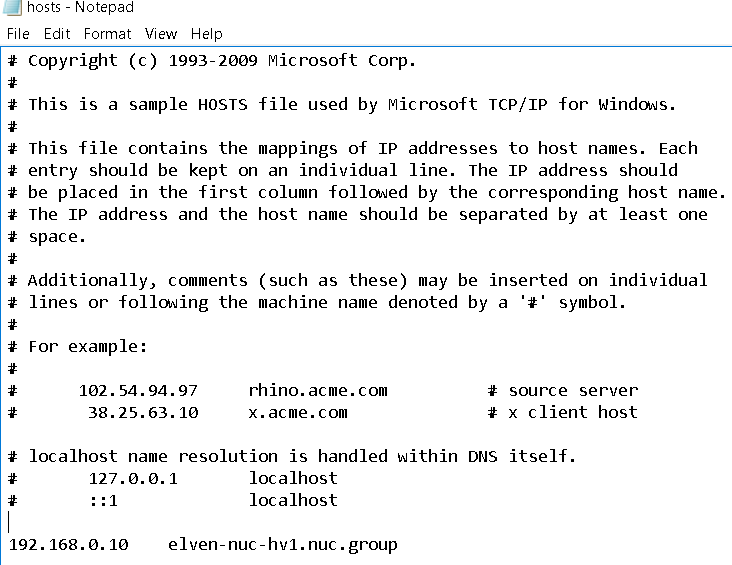
To be able to access the Hyper-V Server from my Windows 10 client, I add the IP address (I have created a DHCP reservation for it on my Router) and the FQDN in my Hosts file in C:\Windows\System32\Drivers\Etc directory.
Configure Remoting on the Hyper-V Server
On the Hyper-V host to be managed, start PowerShell.exe, and run the following as an administrator: Enable-PSRemoting
| |
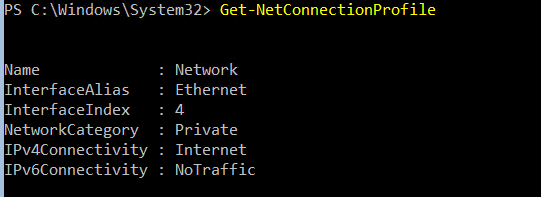
To make sure that the connection are in the private network zone, I check with the command:
Get-NetConnectionProfile
In my case, as this server is in a workgroup, I must specifically change the network zone from public to private:
Set-NetConnectionProfile -InterfaceIndex 4 -NetworkCategory Private
When checking after that, the connection is now Private:
Configure the Client
On my Windows 10 client machine, I run the following commands in a PowerShell (Run As Administrator) session:
| |
Start-Service WinRm
| |
Set-Item WSMan:\localhost\Client\TrustedHosts -Value “elven-nuc-hv1.nuc.group”
| |
Enable-WSManCredSSP -Role client -DelegateComputer “elven-nuc-hv1.nuc.group”
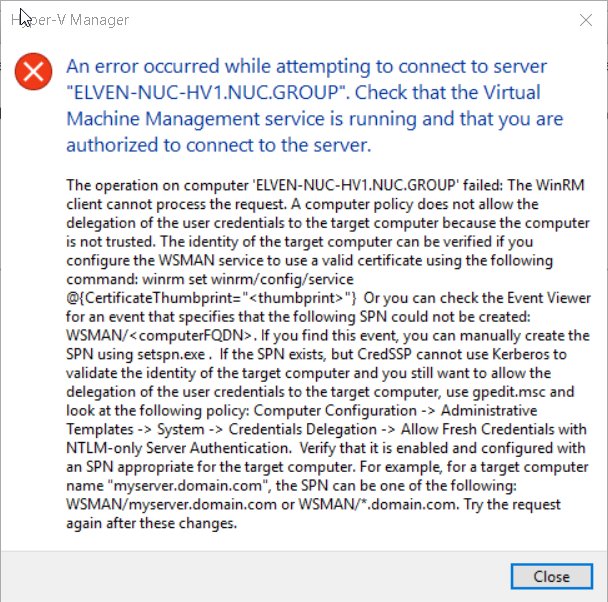
If you later when adding the Server to Hyper-V Manager, get this error message, you need to follow these instructions on the client via GPedit.msc:
Configure the following group policy: * Computer Configuration | Administrative Templates | System | Credentials Delegation | Allow delegating fresh credentials with NTLM-only server authentication *
Click Enable and add wsman/elven-nuc-hv1.nuc.group
| |
Add the Server to Hyper-V Manager
Finally, we should be ready to add the Server to Hyper-V Manager:
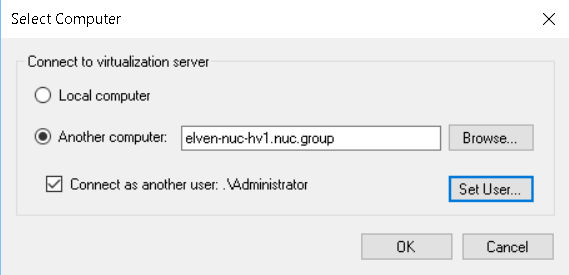
- Select Connect to Server, specify name and Connect as your Admin user:

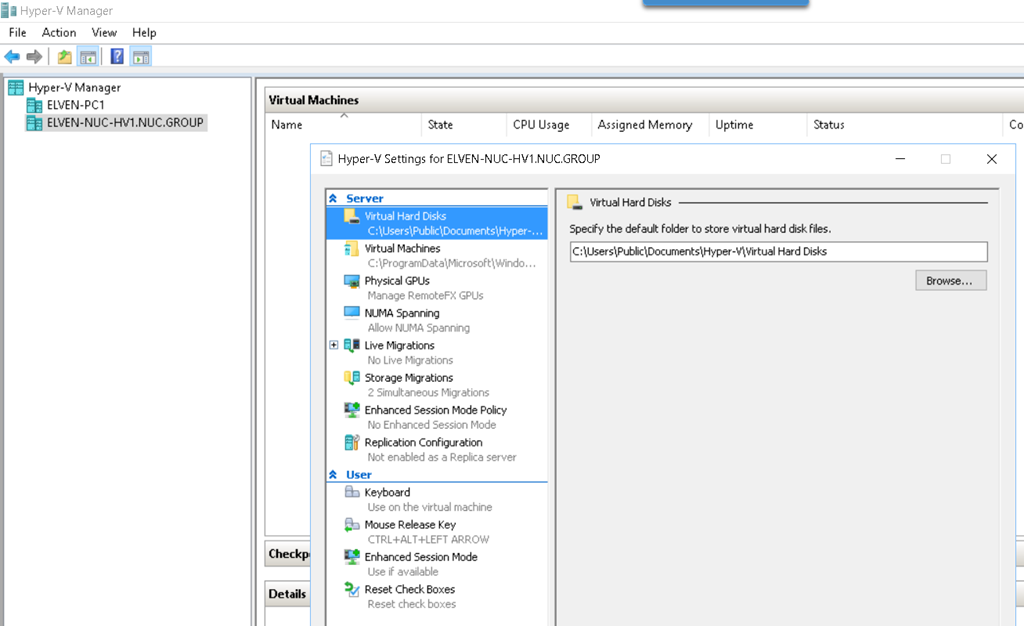
image - And now I can successfully configure the Hyper-V Server:
image
I can now start adding VMs to the Server, that might be a topic for a later blog post 