Just recently I published a blog post on how to use PowerApps and Flow with a custom connector using Microsoft Graph API, to create an app for Azure AD PIM (Privileged Identity Management): https://gotoguy.blog/2018/09/15/create-your-own-azure-ad-pim-app-with-powerapps-and-flow-using-microsoft-graph/
.
In this blog post I want to share some instructions and experiences on exporting the PowerApp and Flows to a package, and how you can export the Custom Connector definitions to a swagger file. After that I will show how you in a new environment can import these definitions, and import the PowerApp and Flow package.
Even better, based on the aforementioned blog post on the Azure AD PIM App, I will provide you with download links for the custom connector swagger defininiton for Microsoft Graph, as well as the PowerApp and Flows Package, so you can start from there without having to build all the stuff yourselves !
Export the PowerApps Package
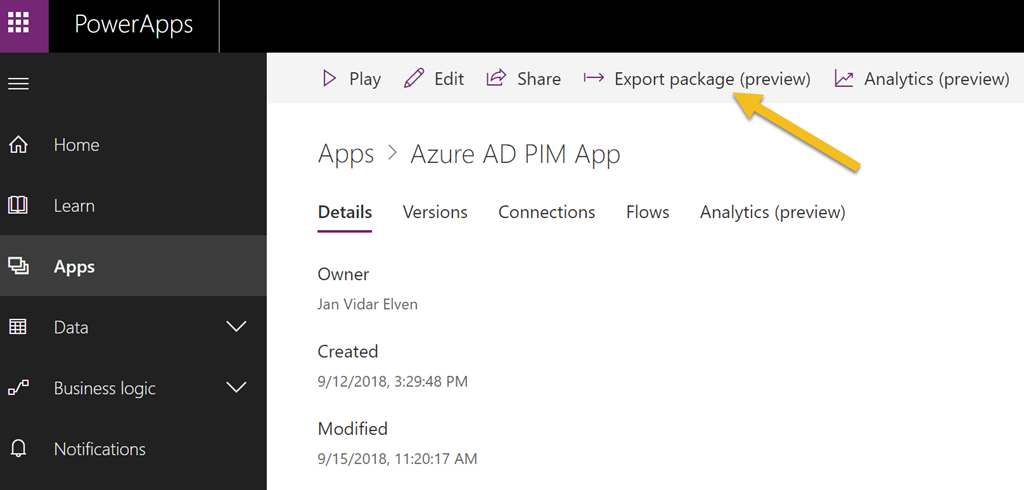
First, start in your Apps gallery of PowerApps, find the Export package (preview) button as shown below:
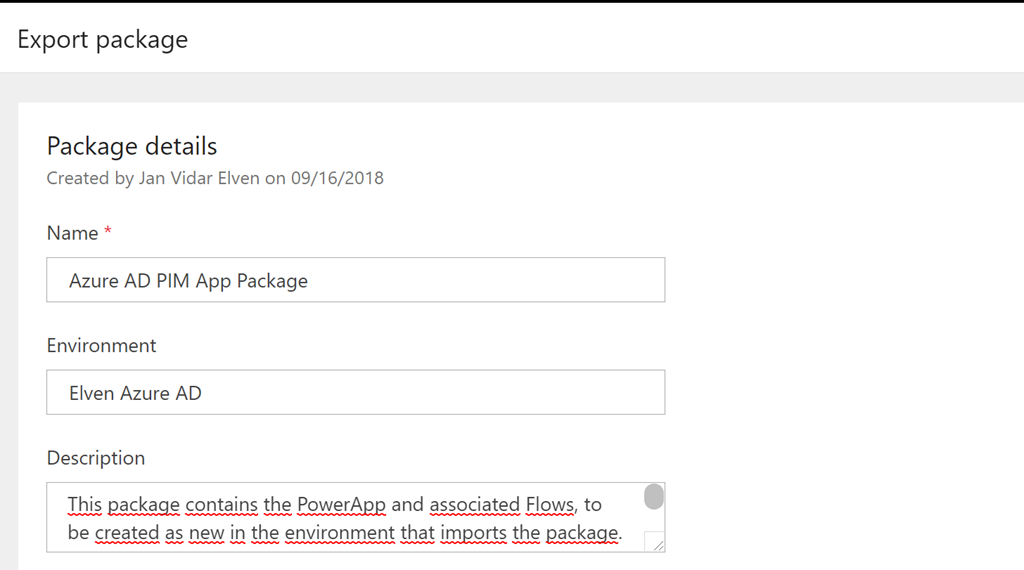
imageSpecify a package name, environment and optionally a description as I have below:
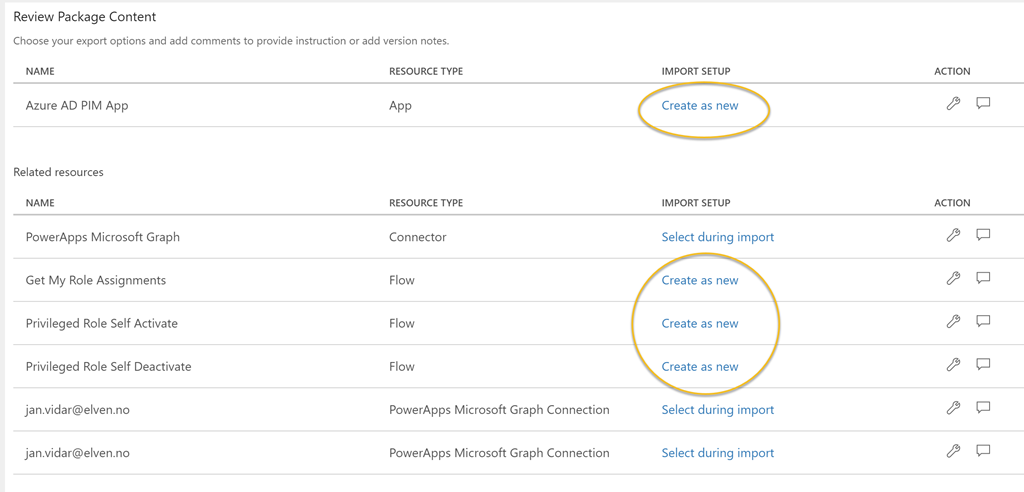
imageNext, review the package content. For the Azure AD PIM App, I’ll change the Import Setup to “Create as new”, the same for the 3 Flows, as shown below:
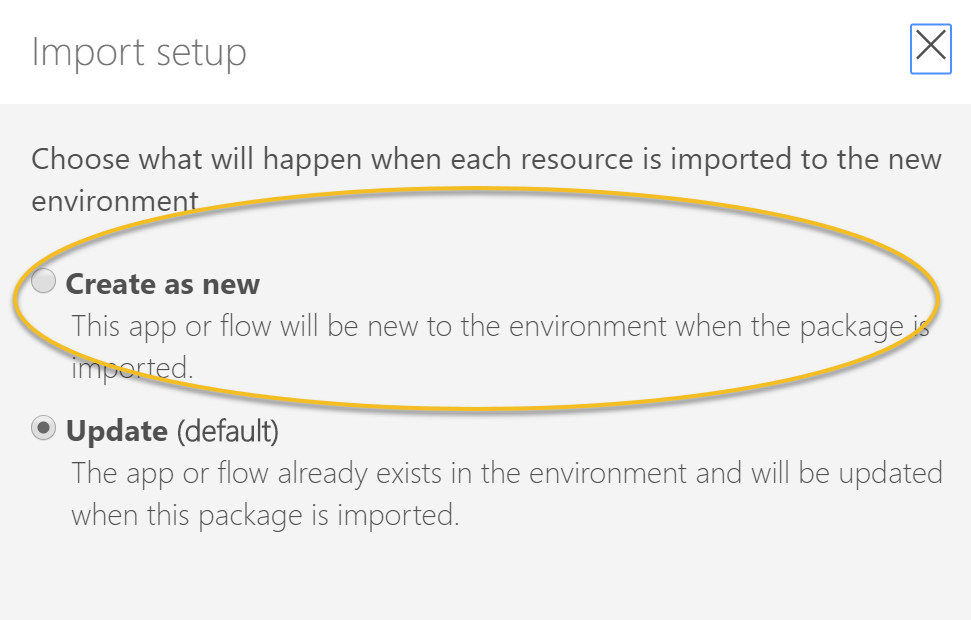
imageFor some of the resources you can select between Create as new or Update, and as I’m planning to import this as a new App with new Flows in the environment, I’ll change this from the default.
imageThe other resources (like the connector and connections) I will select during import. This means these will have to be already existing in the environment I want to import the package to.
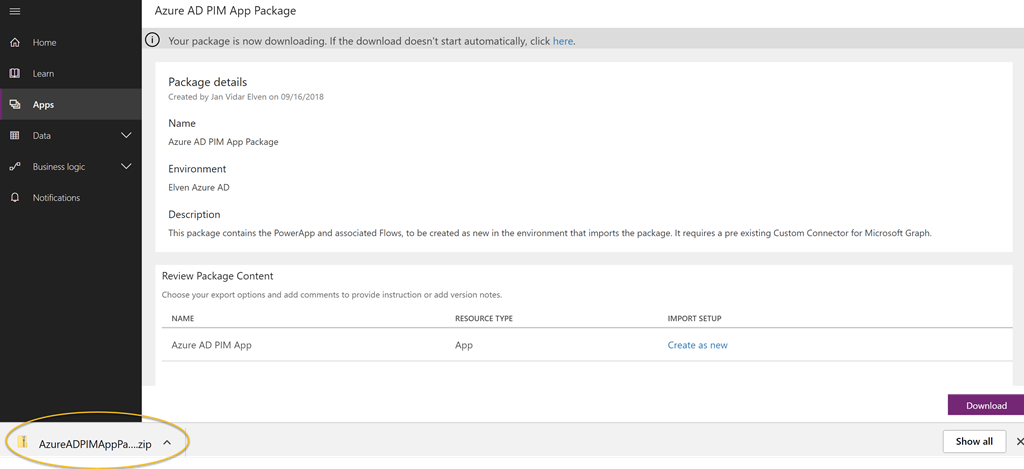
I can then download the package:
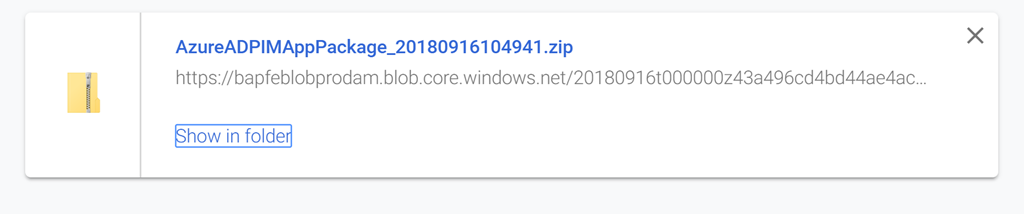
SNAGHTML9abd28The package is downloaded as a zip file:
imageInside the zip file there are some manifest json files and the PowerApps and Flows definitions:
image
Export the Custom Connector swagger file
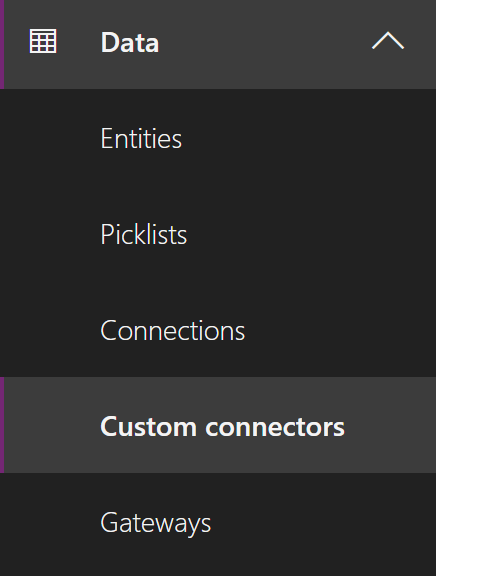
The next thing we want to do is to export the custom connector and its operations. Go to Custom connectors in the menu:
imageFind the “PowerApps Microsoft Graph” connector, and click on the down arrow as shown below. This will download a swagger definition file in JSON format:
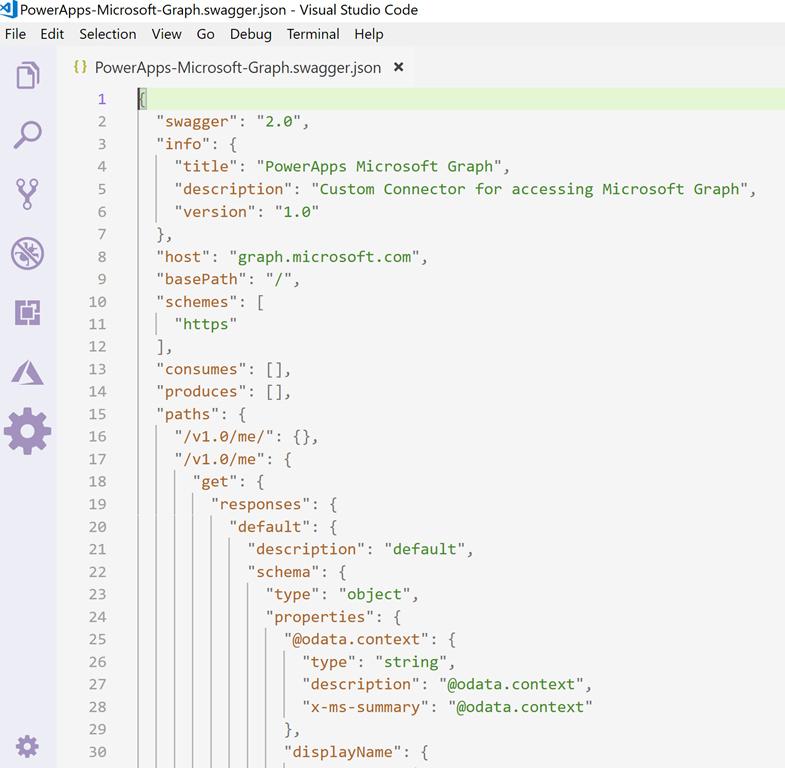
SNAGHTMLb16f76You can open and inspect that JSON file in your favorite JSON editor, here is mine shown in Visual Studio Code:
image
Community Download
Courtesy of gotoguy.blog, I’ll provide you with a download for both the PowerApps/Flows package, as well as the Custom Connector Swagger JSON file. This is helpful if you want to skip right ahead to the next Import section.
These files are placed at my GitHub, in the following repositories:
https://github.com/skillriver/PowerAppsFlowCustomConnector
. Under the folder MicrosoftGraphApi you will find an always updated version of my PowerApps Microsoft Graph custom connector operations. Look to the Readme.md file for details. PS! I will add more operations to this connector later, and the file will be updated.
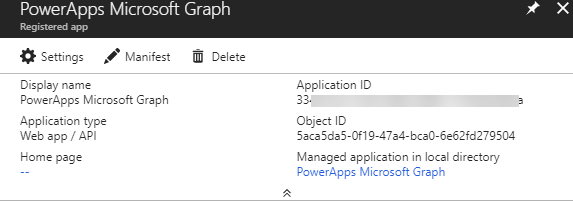
Remember that to be able to use a Custom Connector and Microsoft Graph, you will have to create or use an App Registration in Azure AD in your target enviroment, like I have described in this blog article, under the section “App Registration”: https://gotoguy.blog/2017/12/17/access-microsoft-graph-api-using-custom-connector-in-powerapps-and-flows/
.
Take a note of the application ID and secret key:
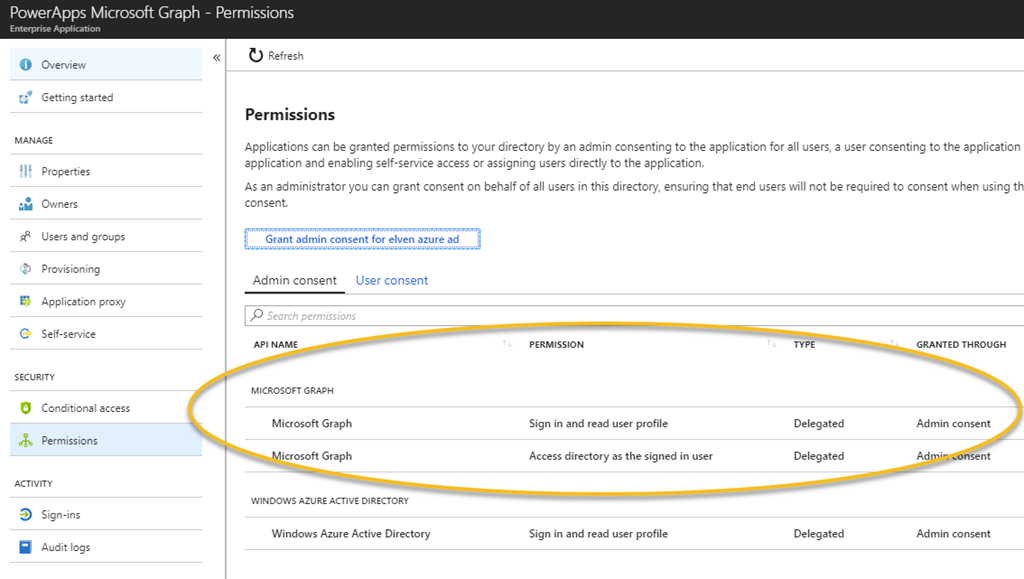
imageRemember also to give the App the right Microsoft Graph Permissions, and give Admin grant if needed:
image
Import from OpenAPI URL
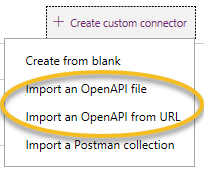
To create a new custom connector, select to import from OpenAPI URL:
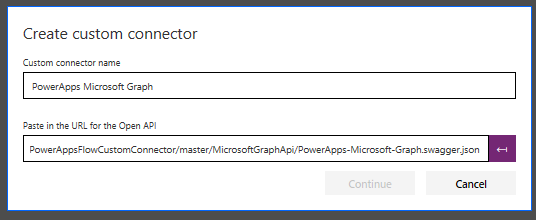
Type a name for the Custom connector, and paste in the URL for the swagger json file:
imageVerify the URL and click Continue.
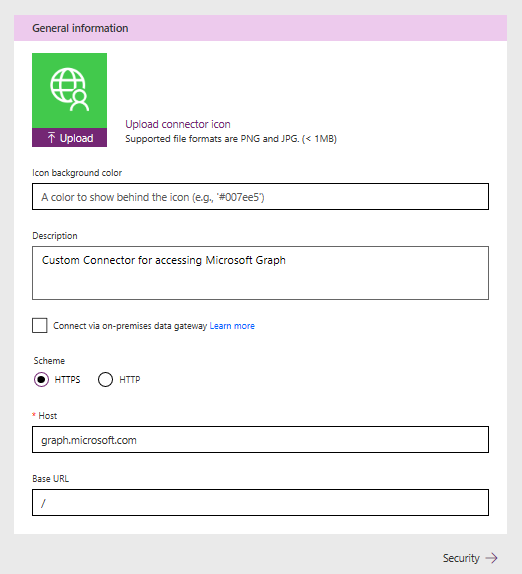
Following that, verify that host is graph.microsoft.com and base URL is “/”, and optionally specify a connector icon, color and description:
image
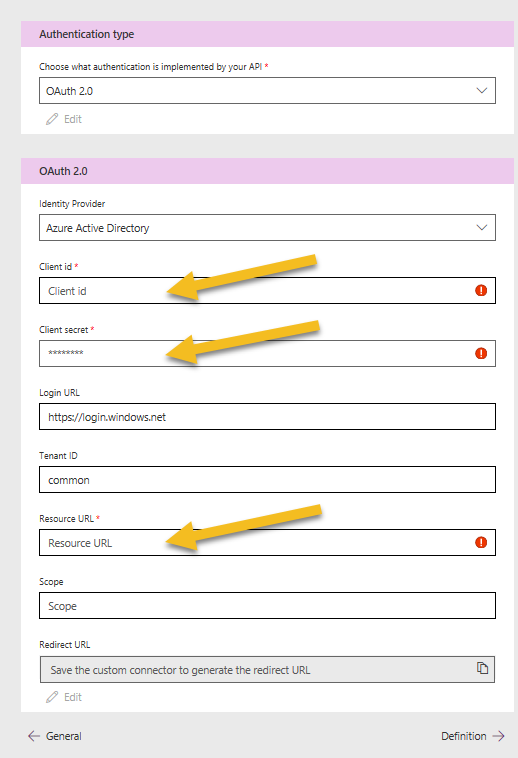
On the security page you have to specify the client id which is the app id from the registered app in your target Azure AD environment, as well as client secret and resource URL:
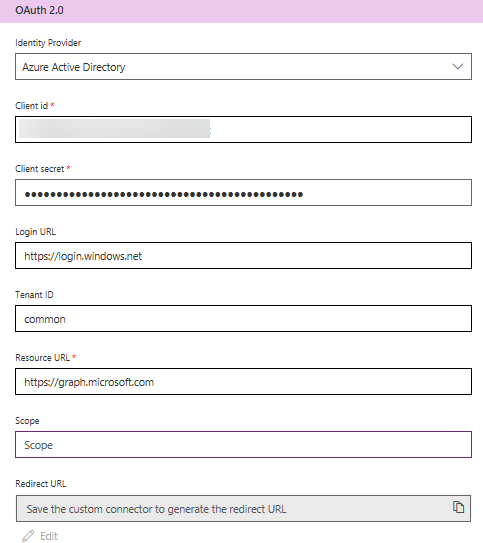
imageIn my target environment I have pasted in the client id, secret, and the resource URL is https://graph.microsoft.com
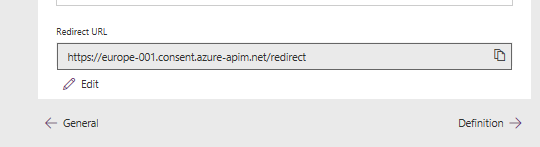
. Note that the Redirect URL is not available before after the custom connector is saved:
imageClick to go to the next Definition page.
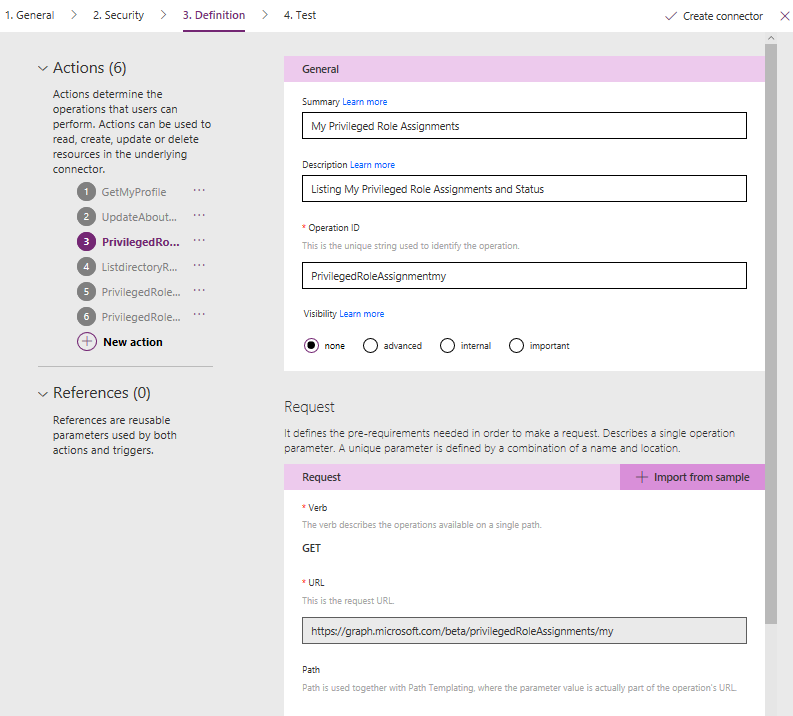
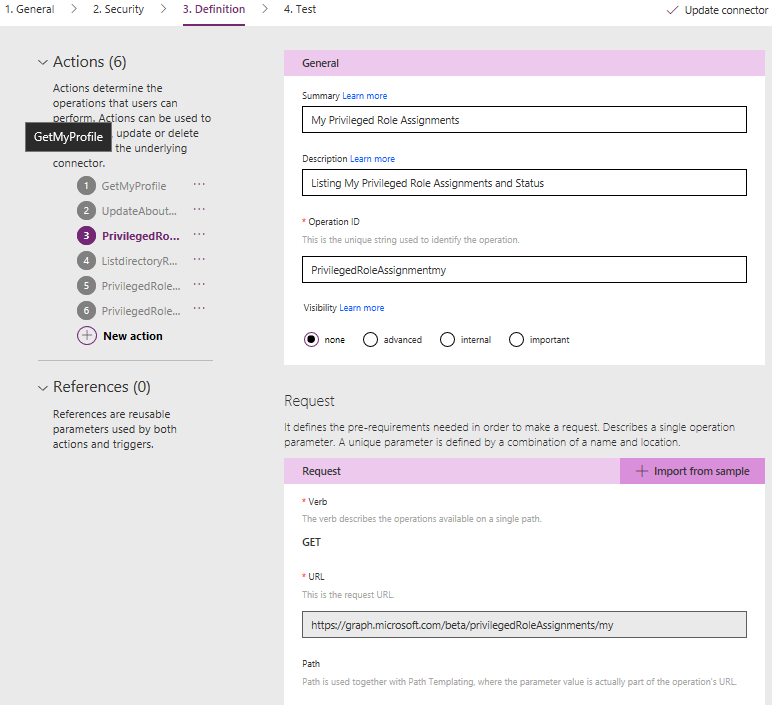
At the Definition page, the actions are already in place because they were defined in the OpenAPI swagger file:
imageClick “Create connector”.
After the Connector is created and saved, go back to Security, and copy the Redirect URL:
image
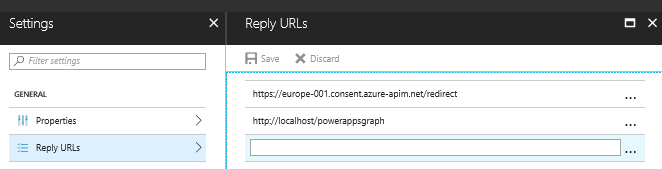
Make sure that the Redirect URL is on the list of the Reply URLs of the Azure AD App Registration:
image
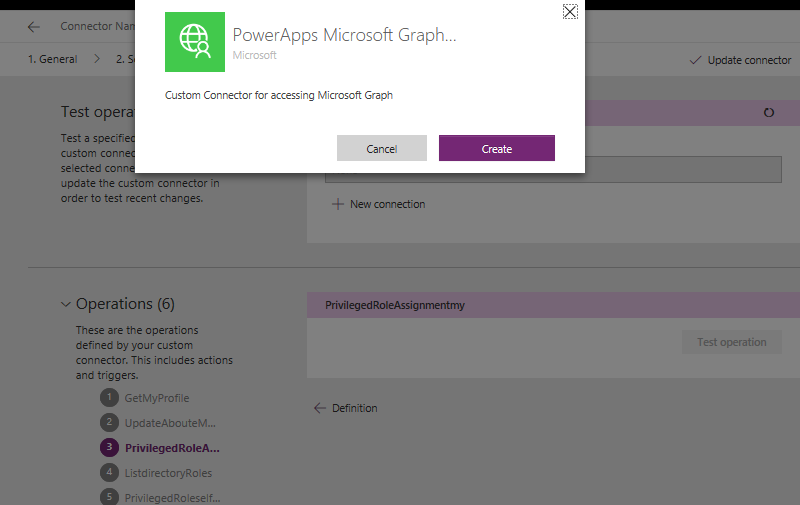
Back in the Custom Connector, lets test the connector. Go to the Test page and create a connection:
image
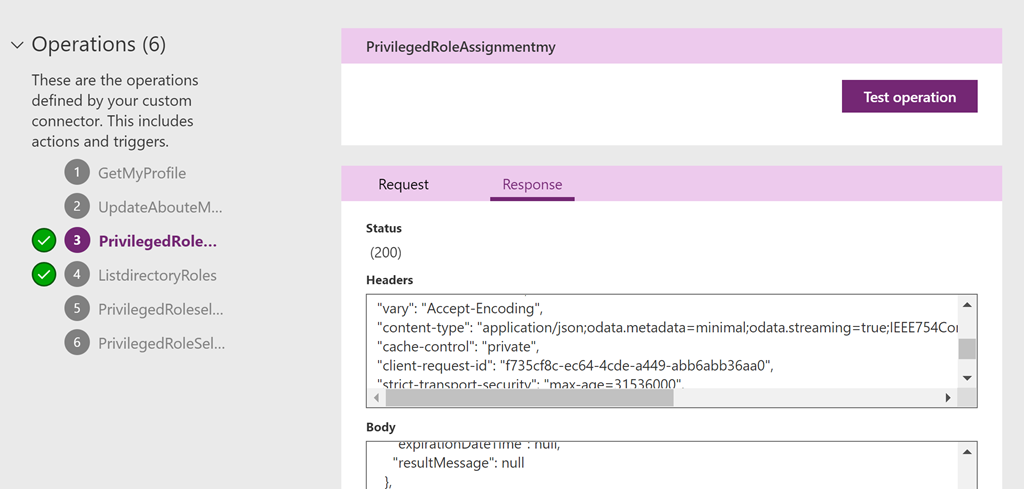
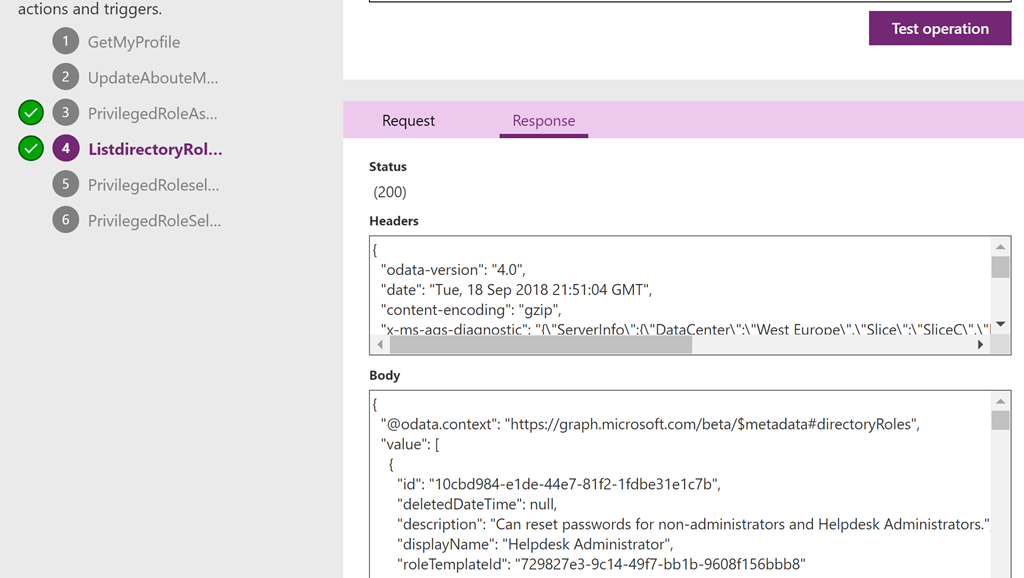
After establishing a connection with your user account, you can go ahead and test one or more of the operations and verify that they run successfully:
image
After testing this the custom connector is ready to use.
Update from OpenAPI URL
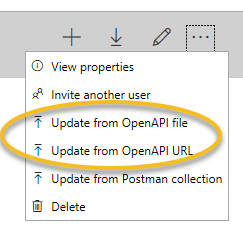
I you want to update an existing custom connector, select to Update from OpenAPI URL:
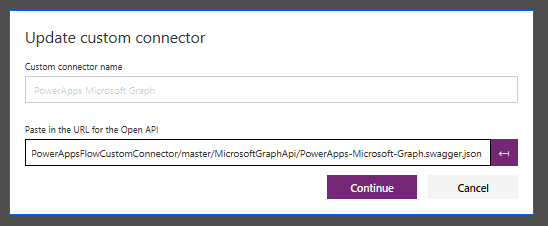
Provide the URL for the swagger json file:
image
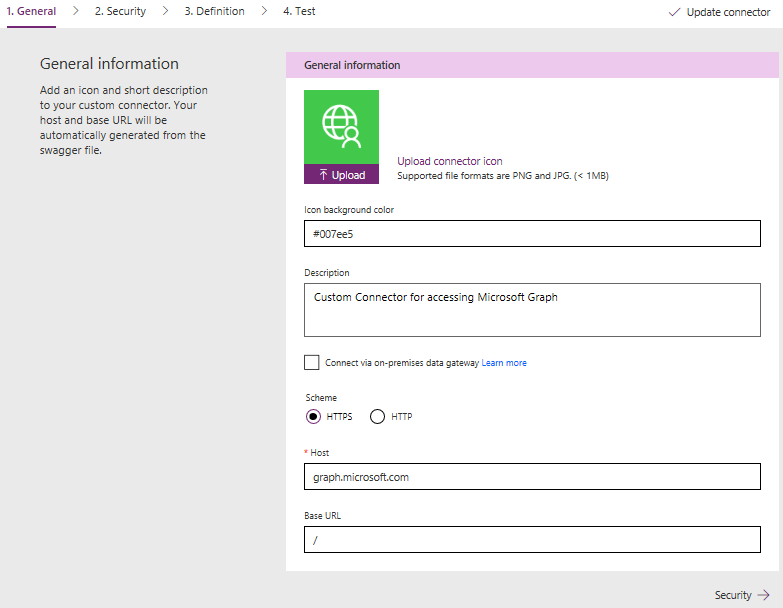
As with when creating a new custom connector, verify that host is graph.microsoft.com and base URL is “/”, and optionally specify a connector icon, color and description:
image
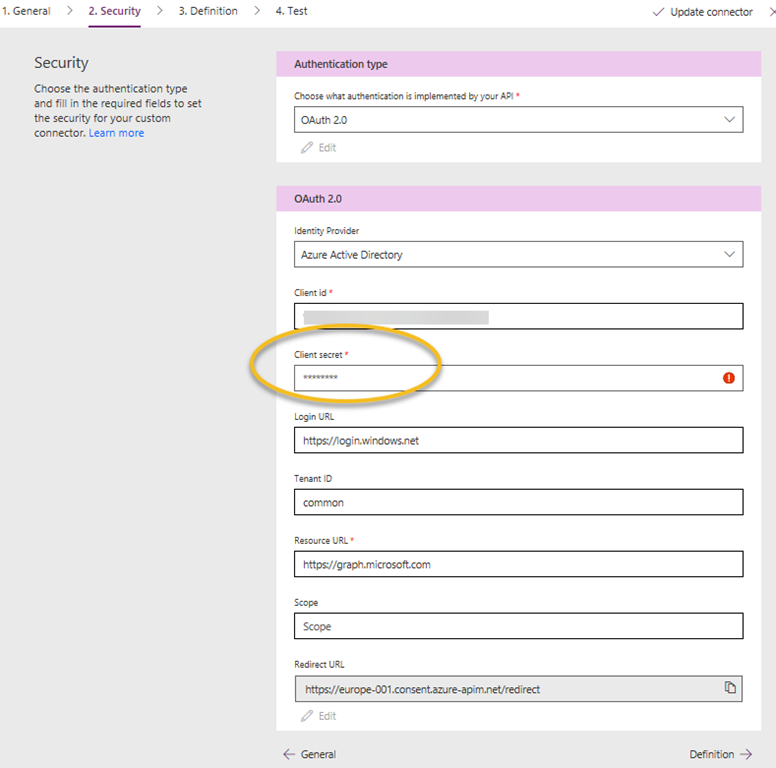
When updating an existing connector, you only have to specify the client secret again:
imageIf you don’t have the original secret stored securely somewhere, you have to go to the App Registration in Azure AD and generate a new one.
Verify that the Operations now has been updated from the imported OpenAPI swagger json file:
imageClick Update Connector to save the changes.
After this, go to Test, and either use an existing connection or create a new, and the Test some of the operations to verify:
image
Now we are ready import the PowerApp and the Flows that will use this custom connector.
Import the PowerApps and Flows Package
We can now import the package we exported earlier, or if you want to use the community download from my GitHub repository, make sure that you download the zip package before this next step.
Start by selecting Import package (preview) from the PowerApps menu:
imageThen browse to the zip packaged to start uploading:
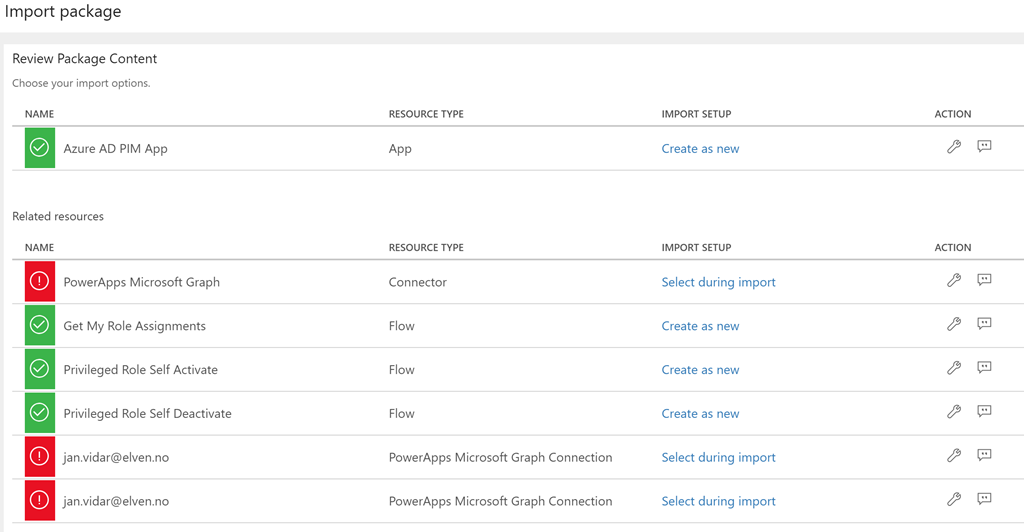
imageWhen the upload is complete, we can review the package content. We have to select during import the connector and connections, marked as red under here:
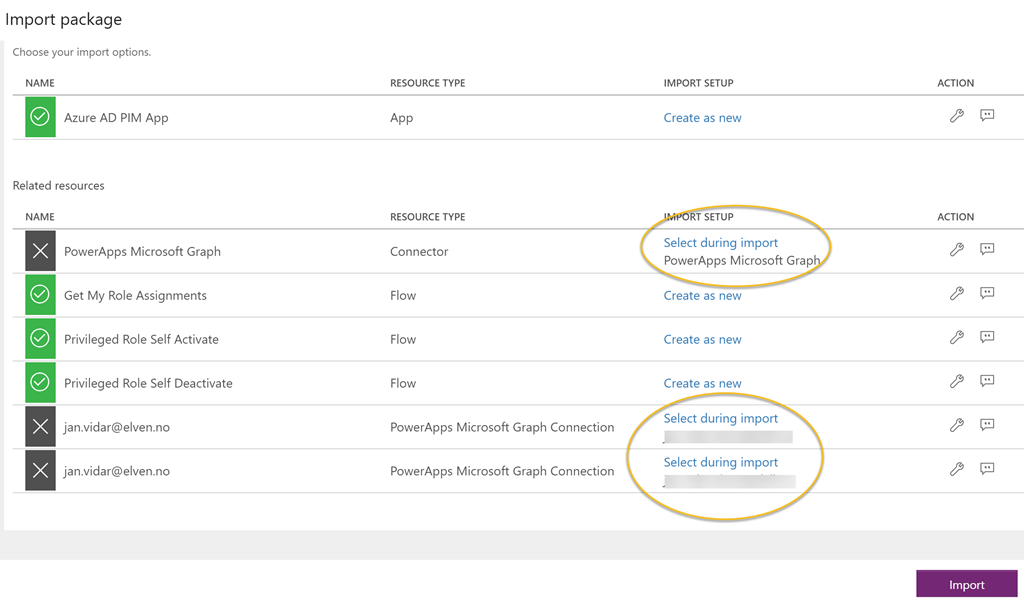
imageAfter selecting the custom connector, and changing the connections to the target environment, we are ready to Import:
imageNote that you also can change the name of the PowerApp and Flows by clicking on the wrench symbol.
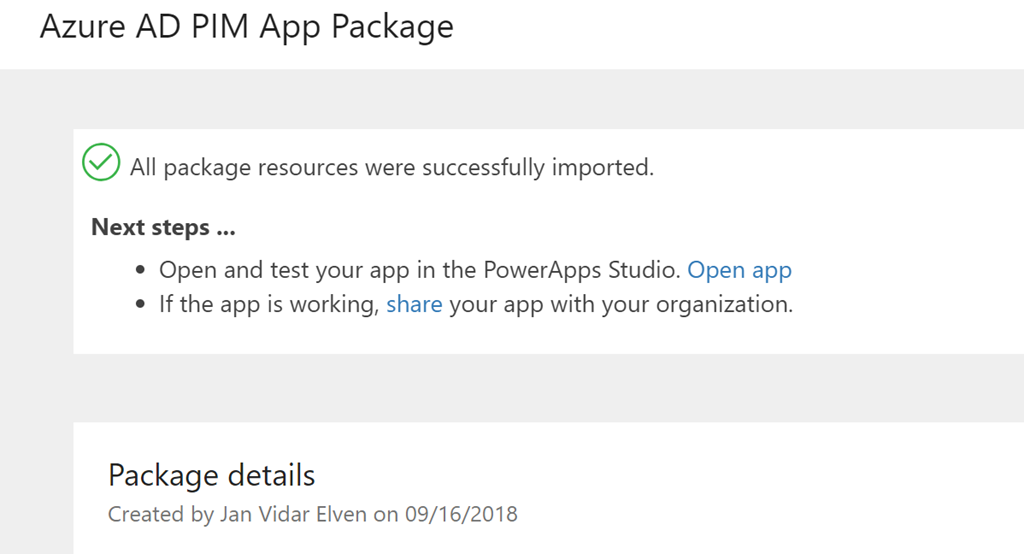
Click Import when you are ready, and verify that the import is successful:
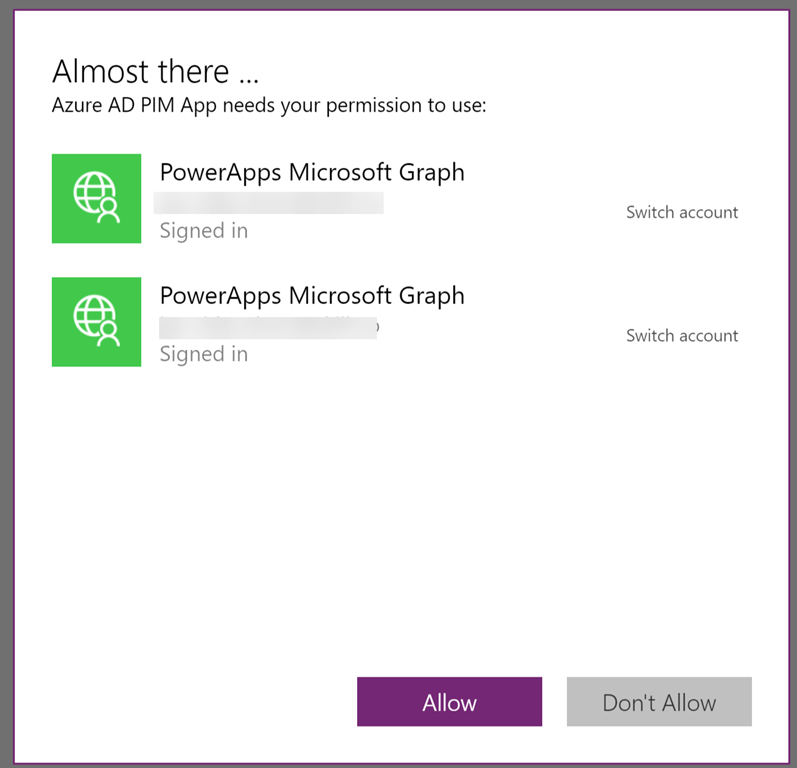
imageYou can now proceed to open the app for customizations and testing. If prompted, click to Allow the permission request:
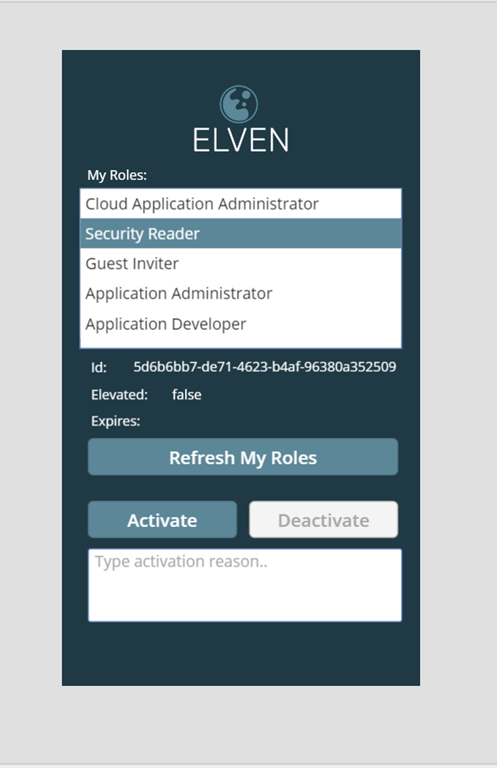
imageAfter opening the Azure AD PIM App, now in the target environment, hold down the ALT key and click Refresh My Roles to test. And you should get the logged on users roles:
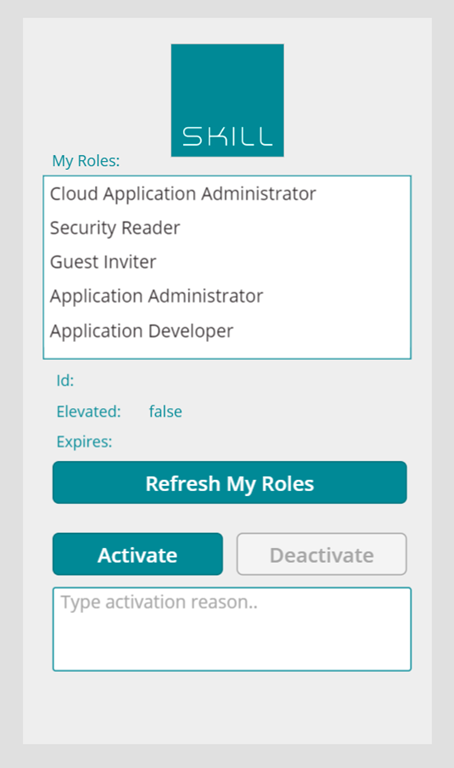
imageObviously, now in the target environment, you would probably start to customize the logo, colors, label texts and language, if you don’t want to proceed with the “Elven” theme ;)
For example something like this from my company:
imageWith that I can conclude this blog post, we have been able to export the custom connector definition and the PowerApps package including the Flows, and import these into a new environment. Now all that is left is to publish and share the PowerApp to be used in your organization.
Thanks for reading, hope it has been helpful!
This site uses Google Analytics only when you allow it, to understand traffic and improve the blog.
Read the privacy notice.
 !
!